How to Set Up a Headless Syncthing Network

Overview of Syncthing
Syncthing is a P2P (peer to peer) network that allows you to keep your files synchronised.
Syncthing aims to replace services such as: Dropbox, Google Drive and OneDrive. By putting the user in control of their own data. Syncthing enables the user to set up multiple 'nodes' which can communicate with eachother.
A node can be, your personal computer, a work machine, a machine in another location or even a central server.
Syncthing will encrypt all data when it is being transported to your other nodes. Nodes don't just have to be on your local network, you can sync between nodes over the internet. Encrypted, of-course.
Use case
I use Syncthing as my storage solution. I have a 'central' Syncthing server which lives in my loft. I quoted 'central' as the loft server is just a node, there's nothing special about it other than having a backup cron job running on it.
I then have multiple other nodes, such as: my main laptop, a work machine and even my Android phone. I have spoken about Syncthing on Android in my My Self Hosted Note Syncing Journey Once Switching to Iphone post.
With the multiple nodes set up, I can choose folders that can sync. I'm currently writing this blog post on my personal laptop, which is syncing to my blog server as I type (well, hit save).
You can then specify which nodes, the folder you created, to be shared with. So in my case, I am sharing my blog with my personal laptop and my 'central' server, just to backup my data.
Setting up Syncthing
I'm going to show you how to set up Syncthing in the context of my setup. So having that 'central' server. You could use a cheap Raspberry PI to set up your 'central' server.
My 'central' server is running Ubuntu Server, so the following instructions are tailored for Debian distros.
Firstly, you need to install the correct package locations in order to download Syncthing correctly.
sudo apt-get install curl apt-transport-https
curl -s https://syncthing.net/release-key.txt | sudo apt-key add -
echo “deb https://apt.syncthing.net/ syncthing stable” | sudo tee /etc/apt/sources.list.d/syncthing.list
Next, update your local repository with the new Syncthing repository
sudo apt-get update
sudo apt-get upgrade
sudo apt-get install syncthing
The next thing you want to do is enable Syncthing as a system service. This will allow start-up on boot and continuous execution in the background of your server.
sudo systemctl enable syncthing@username.service
sudo systemctl start syncthing@username.service
So this will start Syncthing on your Ubuntu Server. Problem is, Ubuntu Server is usually headless. So at the moment there is no way to access the Syncthing GUI to configure your folders and nodes.
The way we can change this to allow local access from another machine is to change the serve address.
When you ran the Syncthing command above, a syncthing folder was created under your /home/username/.config folder.
Inside that will be a config.xml file.
Open this with a text editor, something like Vim or Nano. It really doesn’t matter.
Within config.xml there is a section that looks like this:
…
<gui enabled=“true” tls=“false” debugging=“false”>
<address>127.0.0.1:8384</address>
<apikey>…</apikey>
<theme>default</theme>
</gui>
…
Under the address attribute, you need to update the ip address.0.0.0.0 will allow all machines on your local network to be able to access the Syncthing GUI.
…
<gui enabled=“true” tls=“false” debugging=“false”>
<address>0.0.0.0:8384</address>
<apikey>…</apikey>
<theme>default</theme>
</gui>
…
Save and close config.xml and then restart Syncthing by running the following command.
sudo systemctl restart syncthing@username.service
Second Node
For Syncthing to work, you need to set up another Syncthing node. Simply follow the above steps again on another machine, or jump to the bottom of this page quickly and install Syncthing on Windows or Android
Accessing the Syncthing GUI
Now with all that running, you should be able to access the Syncthing GUI by navigating to:
http://{your_server_ip}:8384
Once entering your ip-address or hostname, you should be presented with something that looks like this
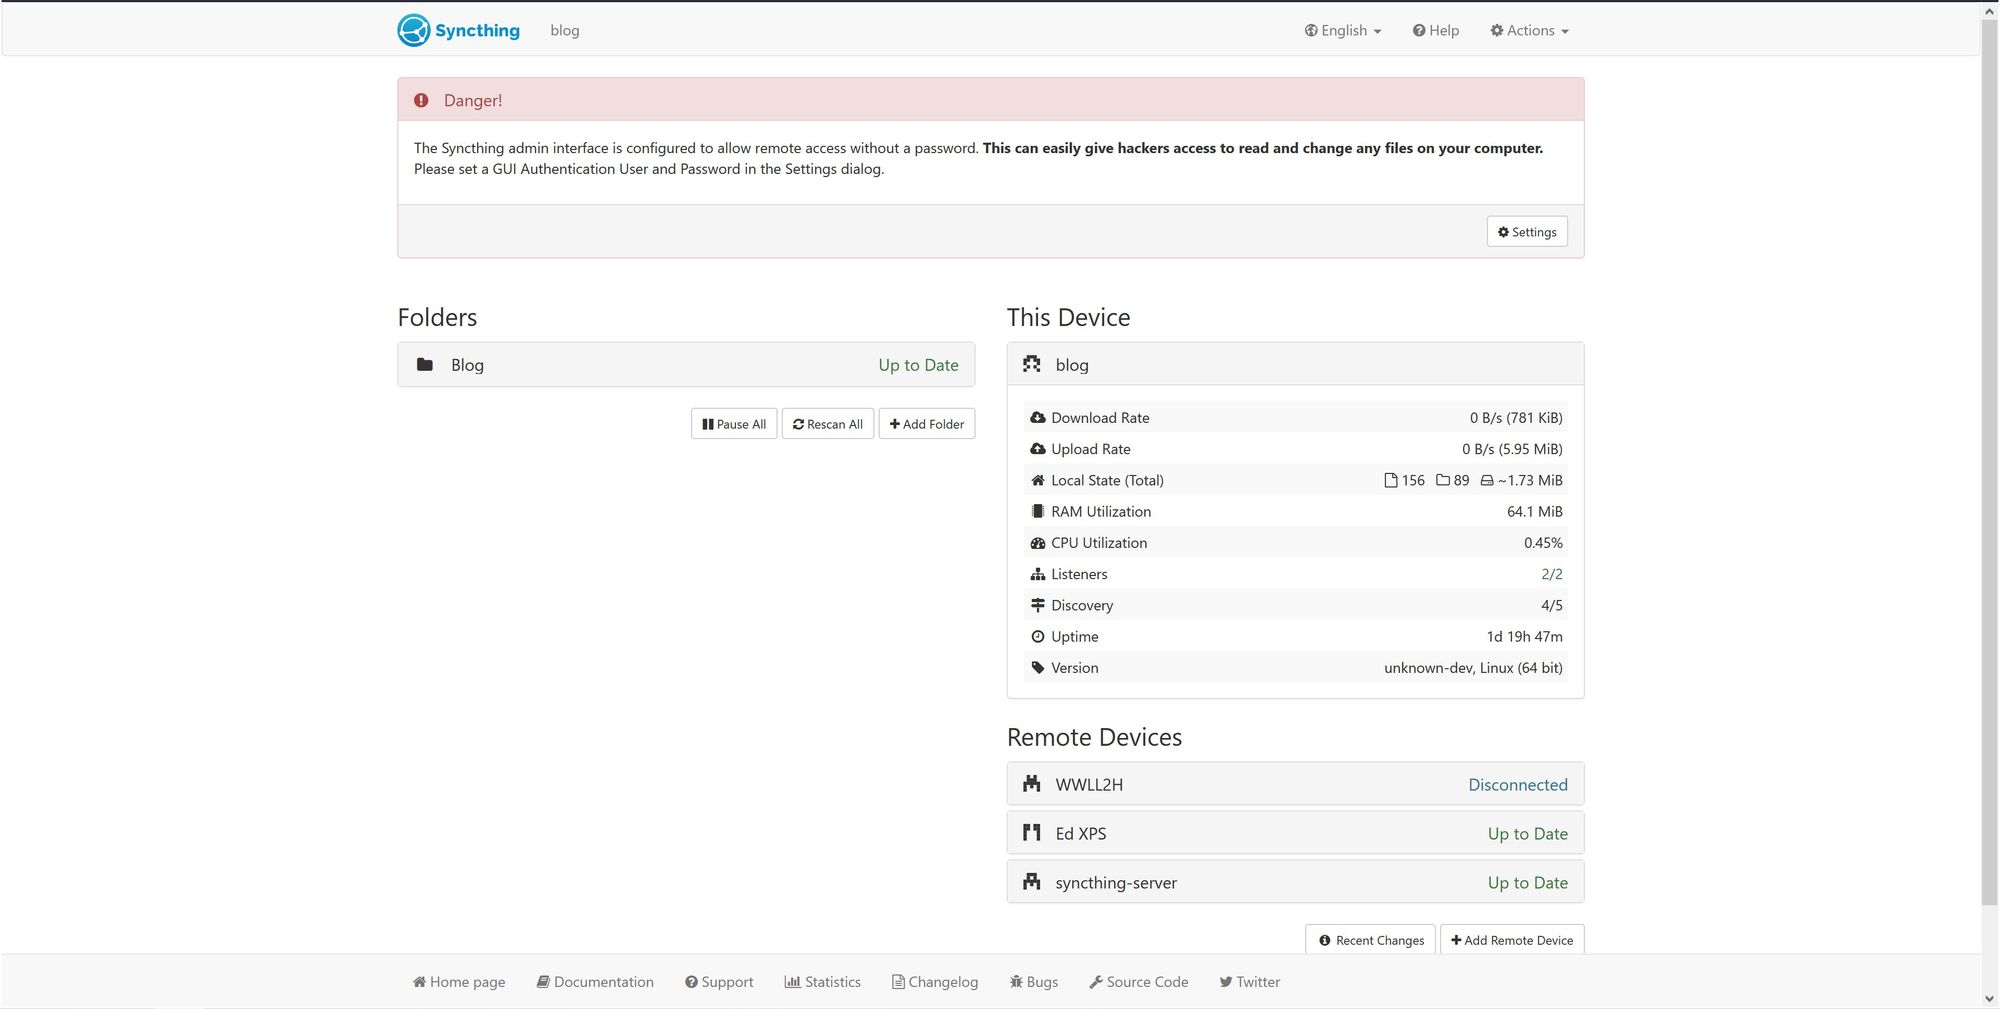
Adding Devices (nodes)
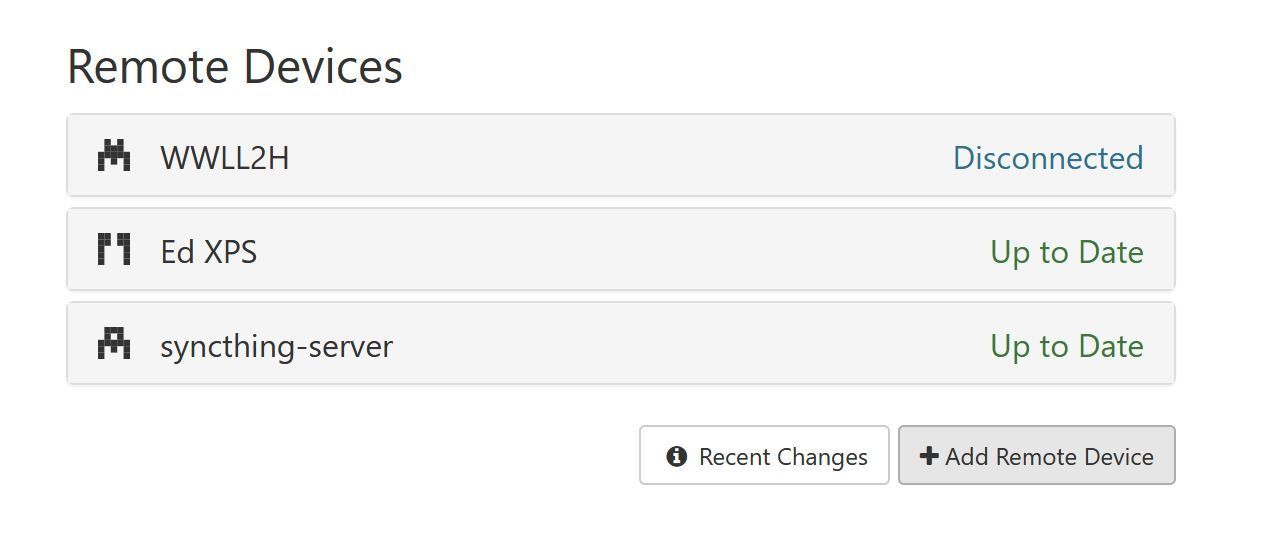
To add a new Device, select the Add Remote Device button, which will open up a new popup window.
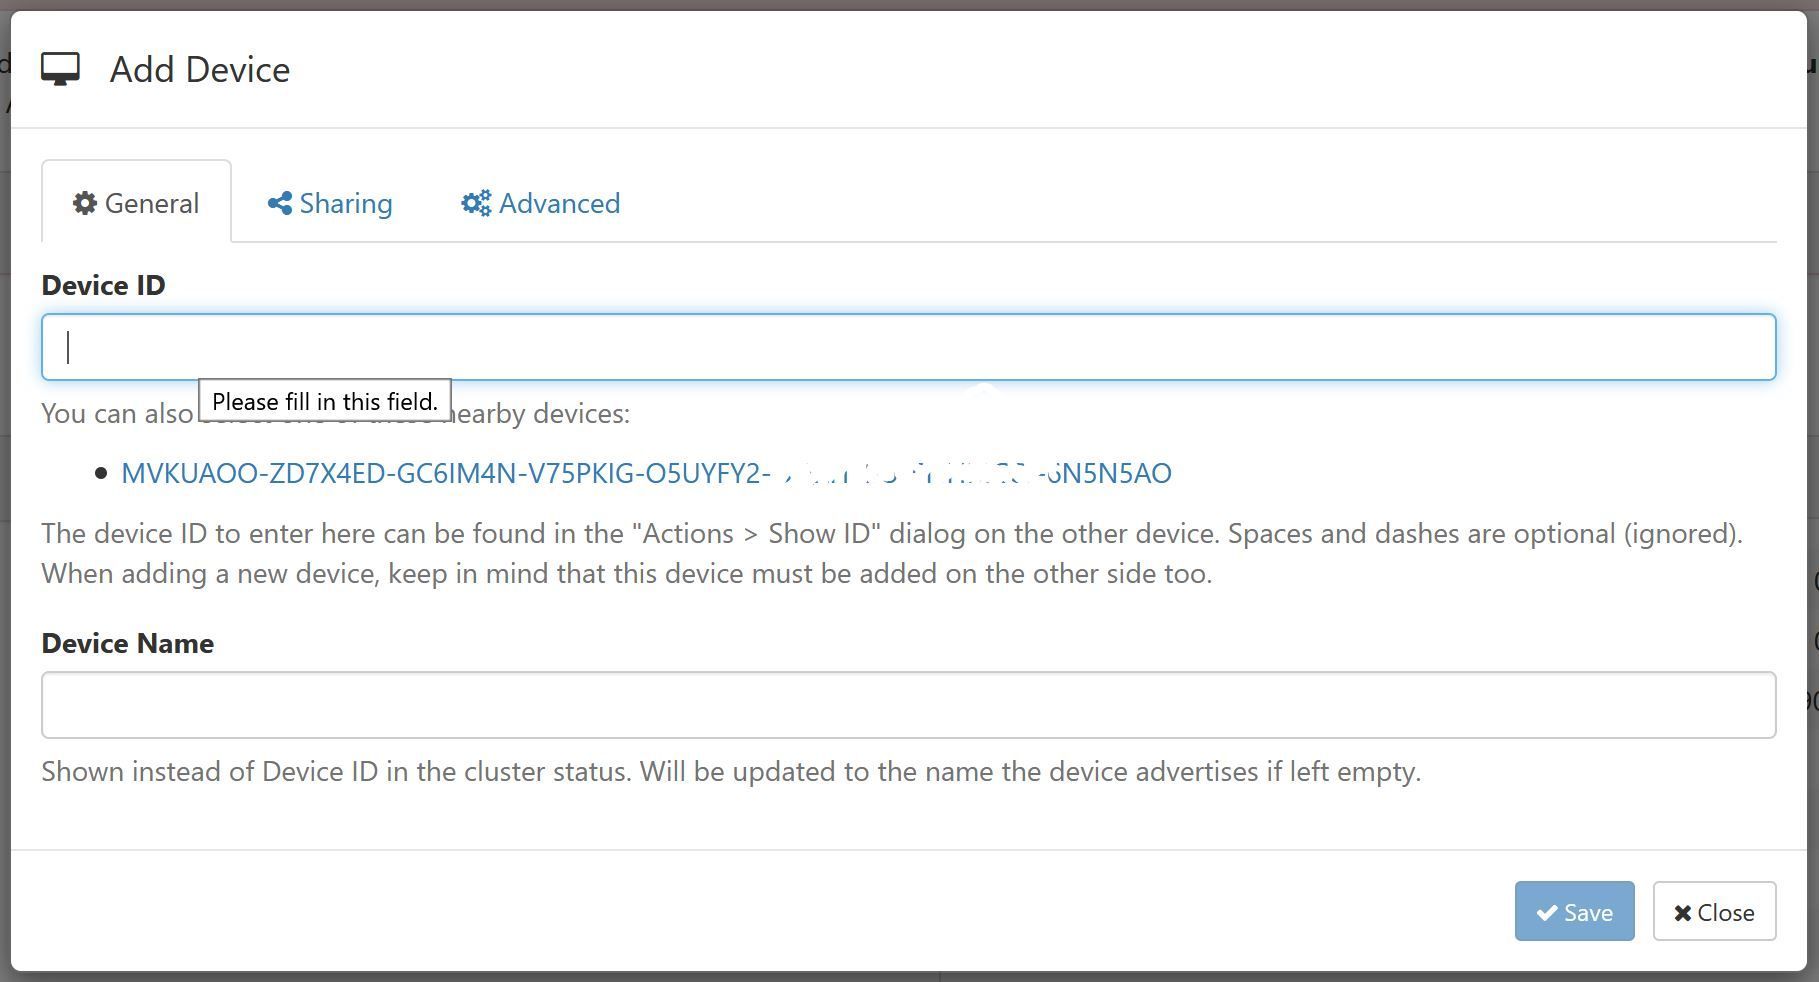
The Add Device window will pop up. You may notice that there is an existing ID which is available to click.
Syncthing automatically polls your local network looking for existing nodes, depending on how your other nodes are set up, you may or may not see this.
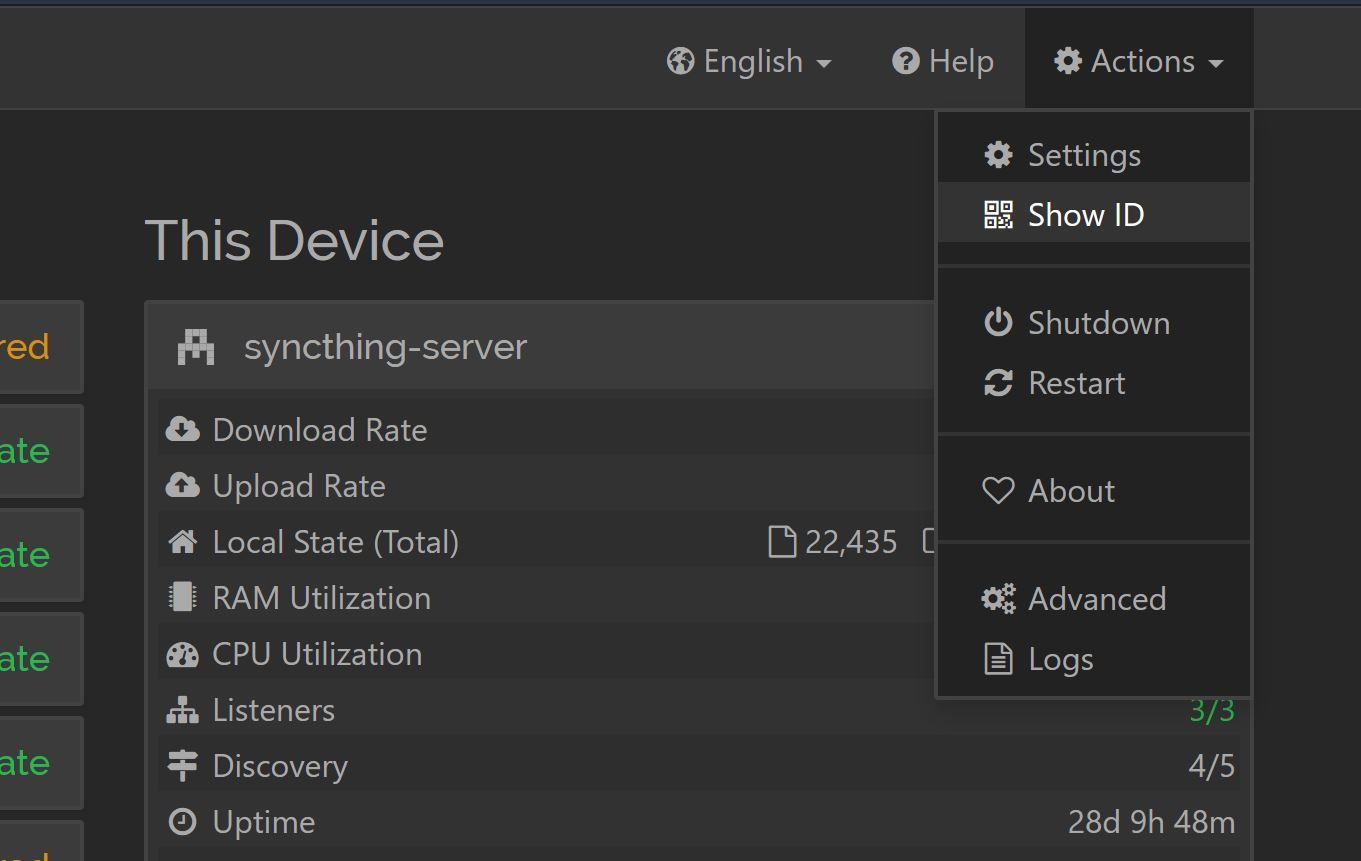
If you don’t see the ID, simply navigate to your other Syncthing node (let’s call it Syncthing B), select Actions > Show ID from the top right menu.
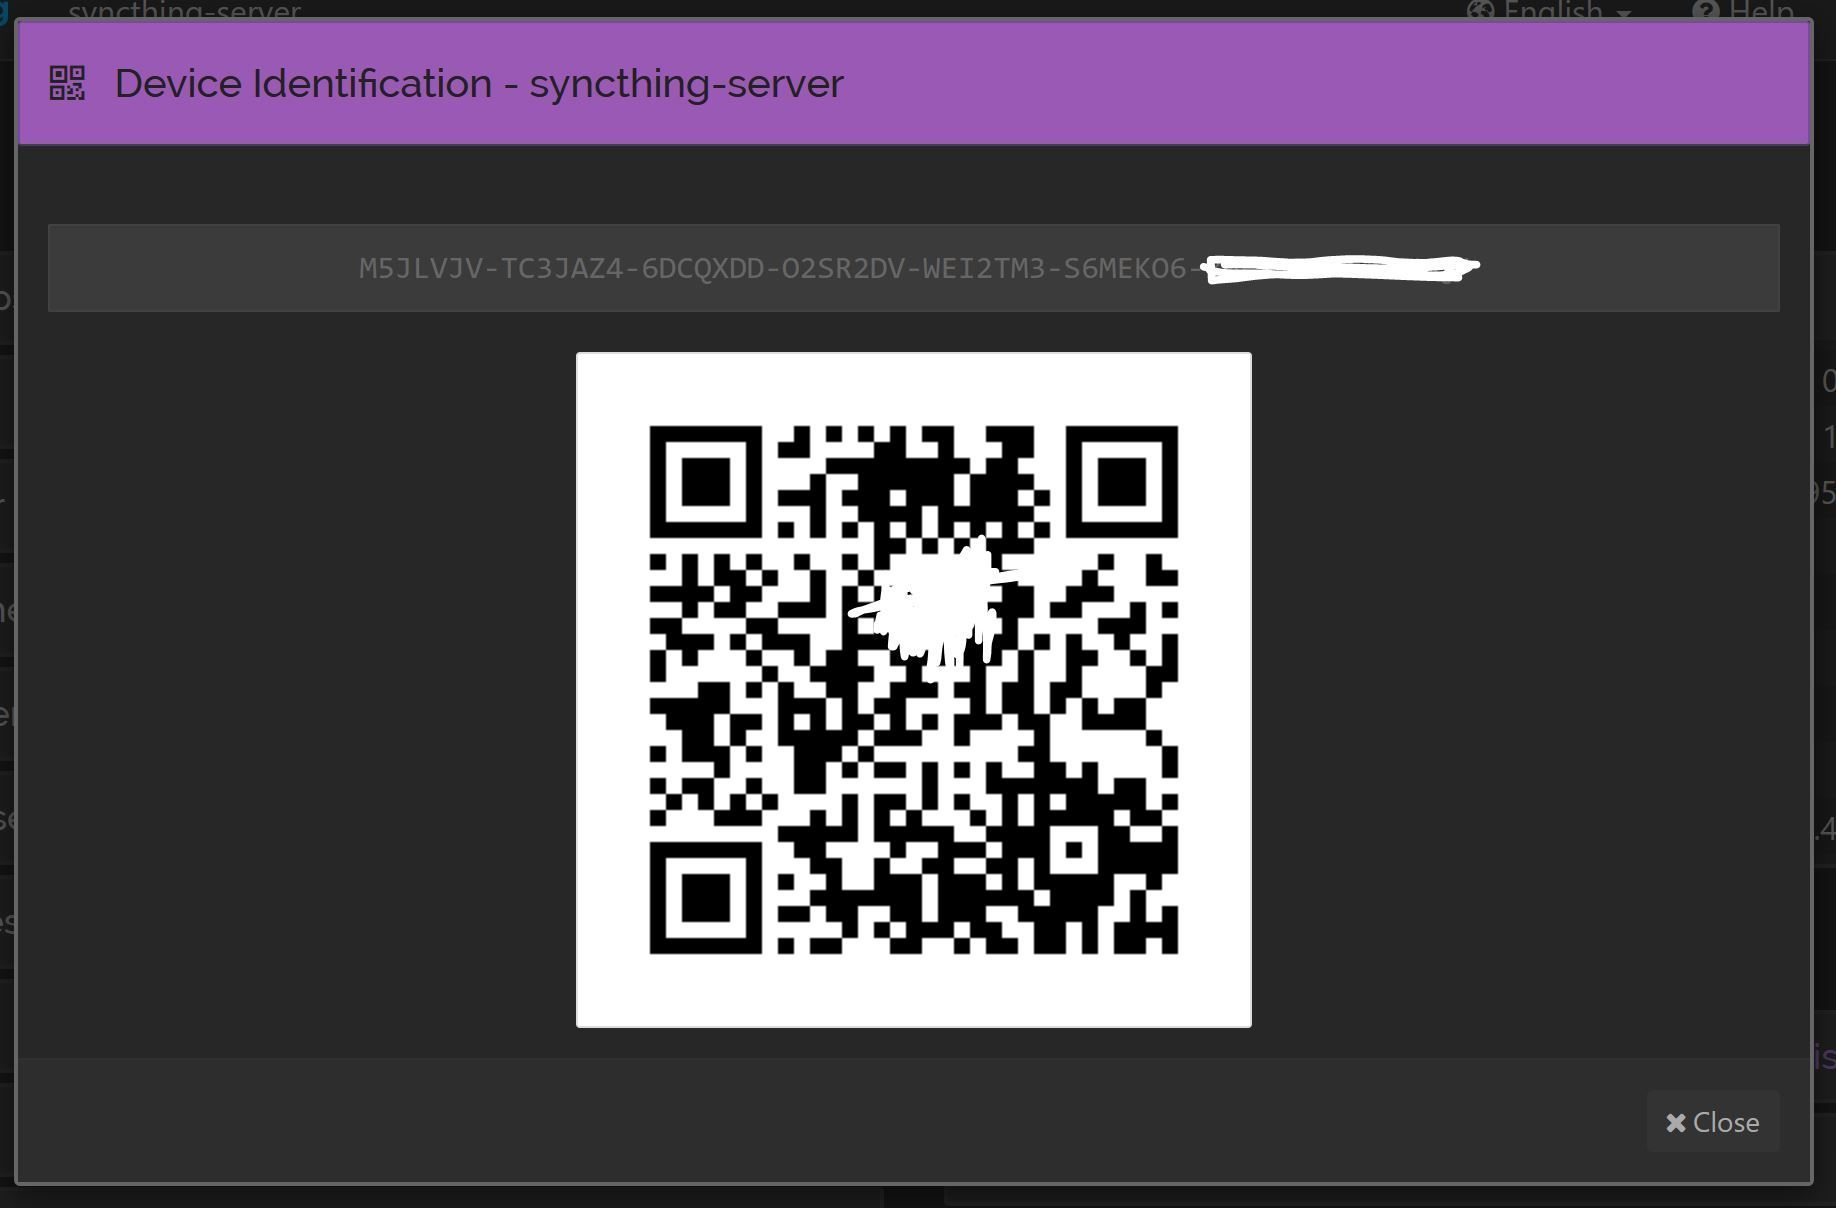
Here you will see the Syncthing B Syncthing ID. Copy this ID or use the QR code to scan the ID. And paste the ID into the Device ID field back on the Syncthing A node.
Complicated at first, but once you get the hang of Syncthing, it’ll be easier.
Click Save on that window and it’ll add Syncthing B as a new device.
Sharing Folders
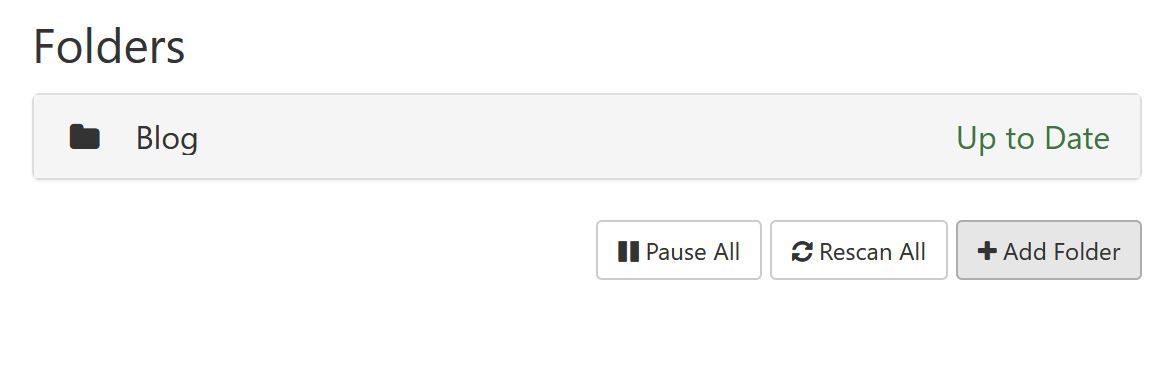
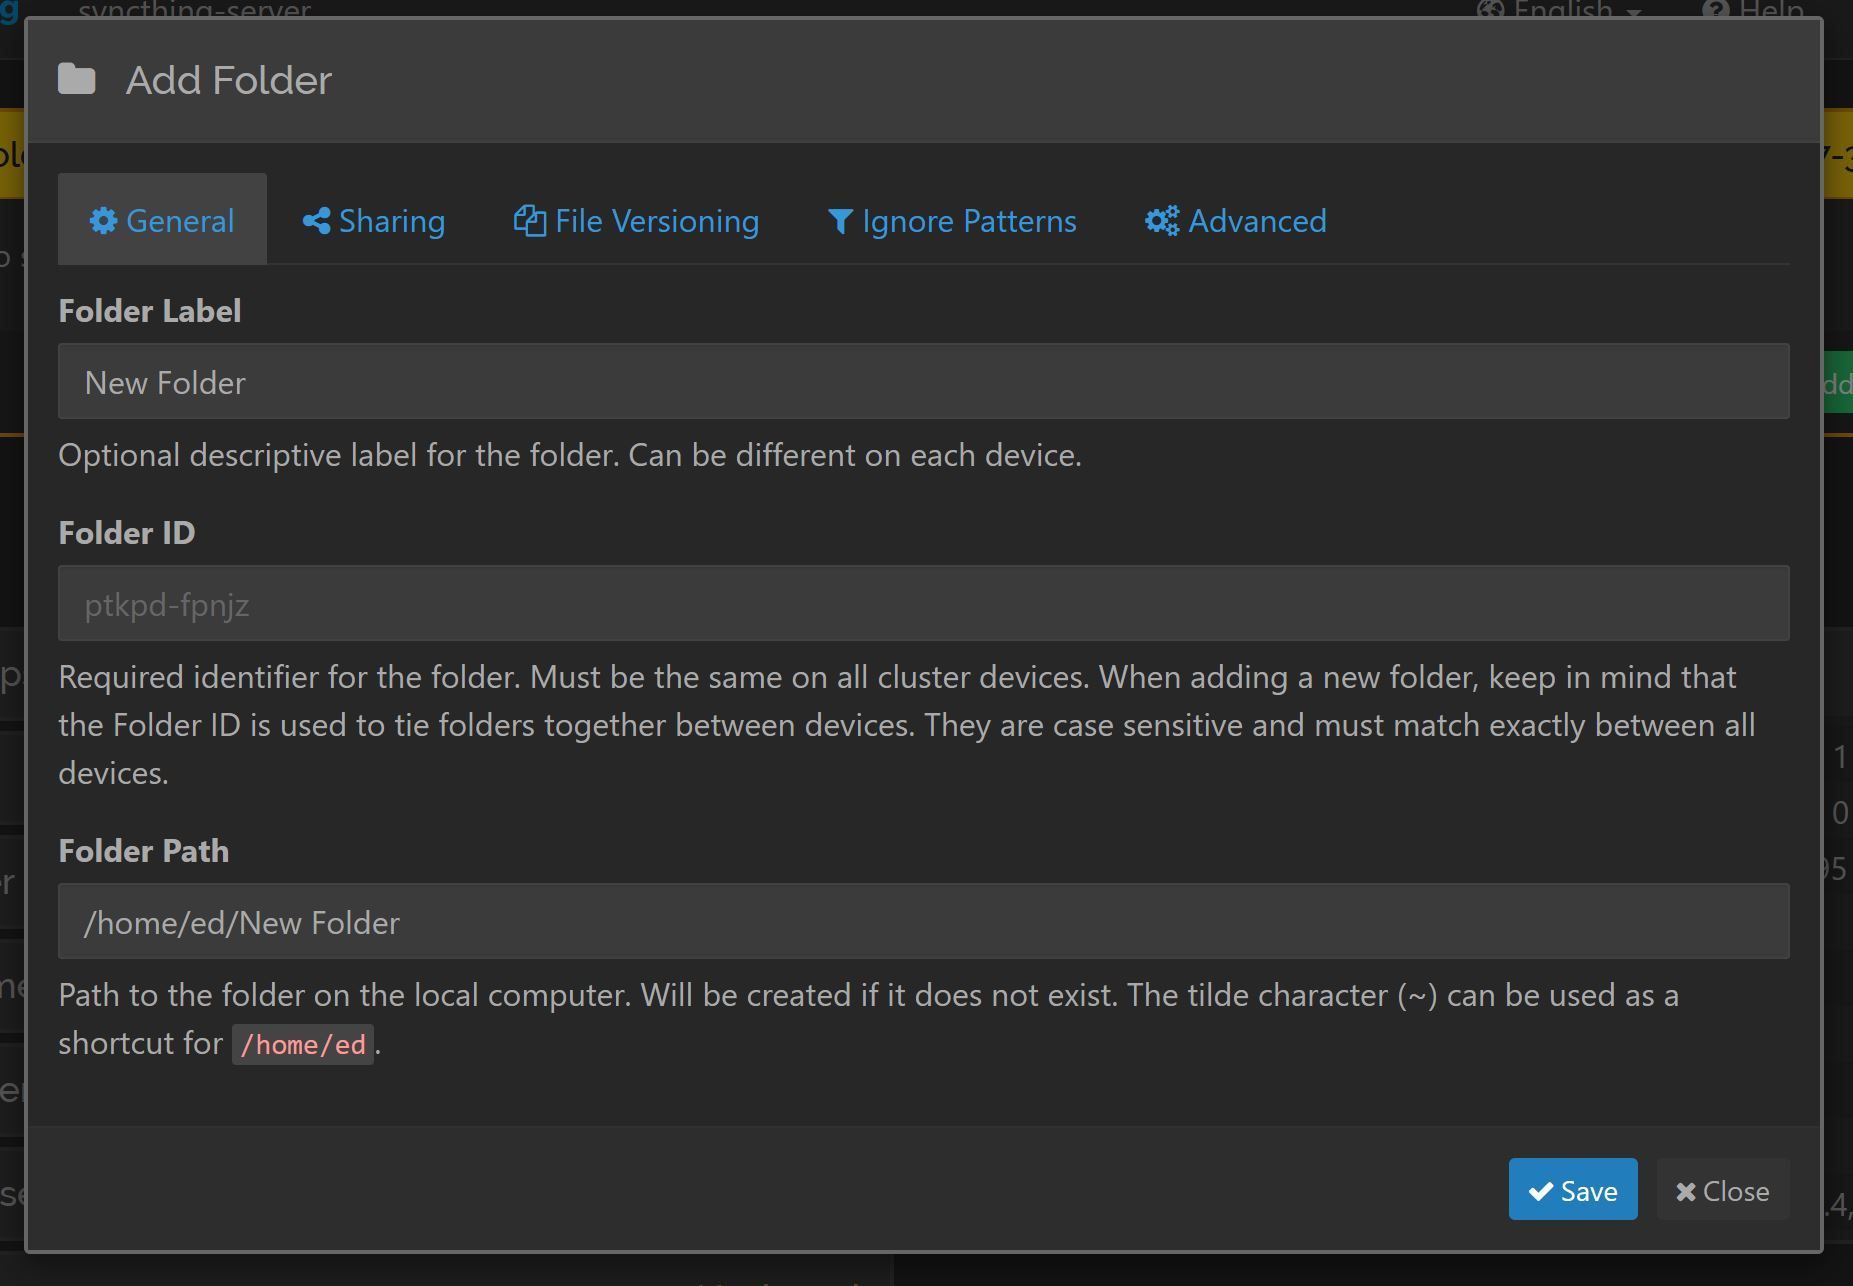
Now, on Syncthing A click the Add Folder button on the left hand side of the screen. This will pop up with a new window.
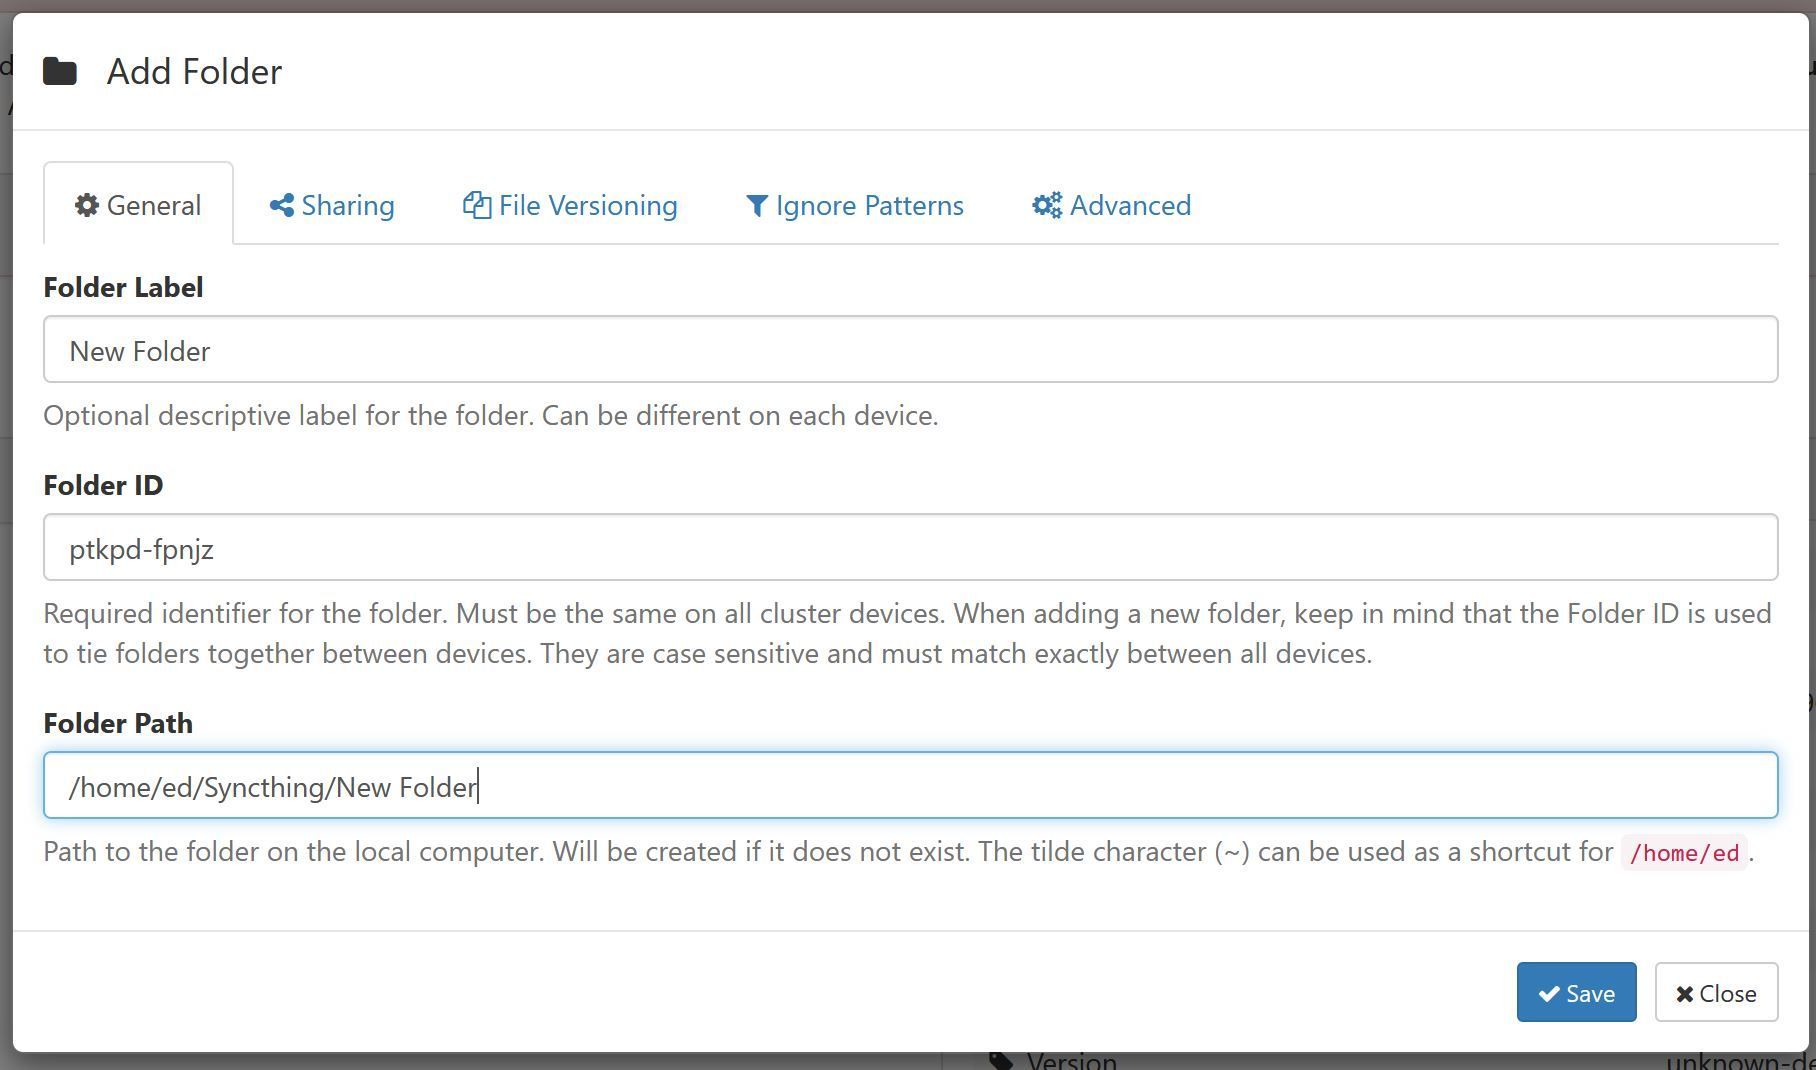
Give your new folder a name and change the path to be relative to the folder on your machine that you want to backup. I tend to keep all of my synced folders under /home/ed/Syncthing just so that I know where everything is.
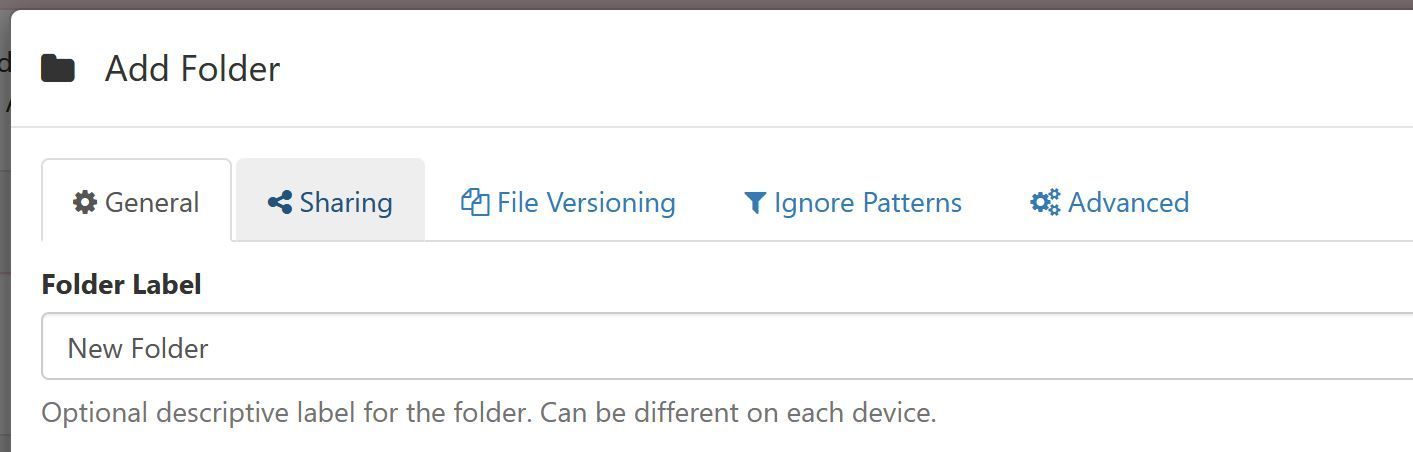
Navigate to the Sharing Tab

Here are the devices you have added. I have a couple more than you probably will just because this is my existing system. Simply select the device that you added and click Save
Accepting the new device

Next, on Syncthing B, there will be a new call-to-action at the top of the page. This is a request for you to allow Syncthing A to add Syncthing B as a device. Simply click Add.
Then, shortly after accepting the new device, you’ll get another popup which is Syncthing A requesting to share the folder you have just create.
Click Add
Finally, you now need to choose a location for this folder to sync to.
Click Save and that’s it.
Testing
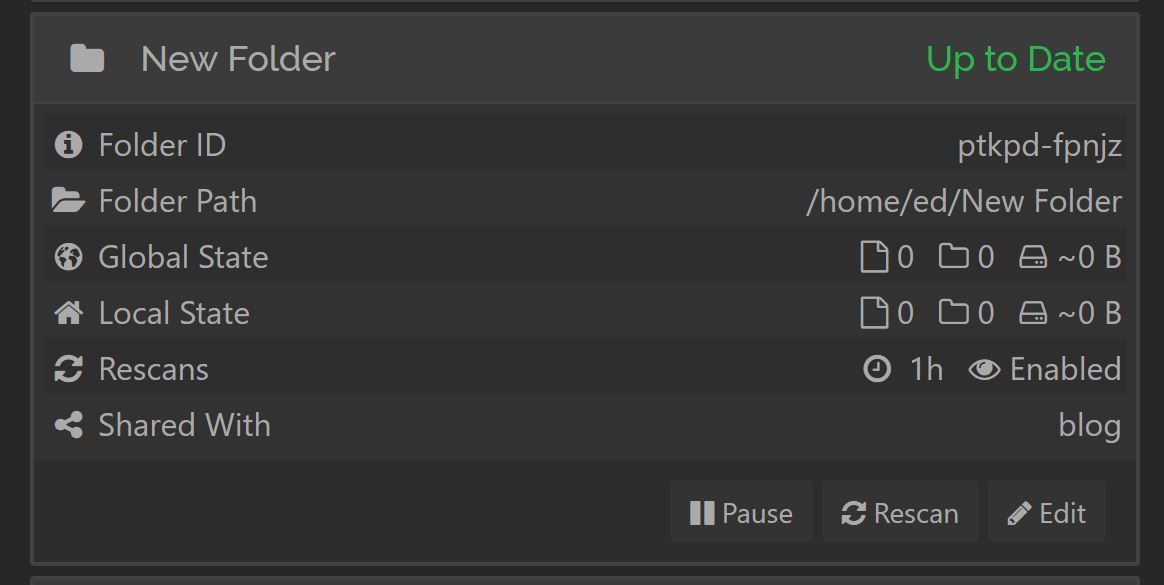
Feel free to test by adding a file to the Syncthing A folder and wait for the global state to change on Syncthing B
Setting up other Syncthing nodes
Syncthing works on everything apart from iPhone. There are whispers of something coming to iOS in the future, but not right now.
Setting up another node on a Linux machine
Setting up a node on another Linux machine is as simple as just copying the steps above. If the machine isn’t headless, such as a desktop machine, you can ignore the part about changing the ip address in the config.xml
Setting up another node on a Windows machine
Setting up on Windows is relativley easy. You can either go the manual route of downloading the Syncthing exe. Or by opting for the simple solution which is installing SyncTrayzor which adds a system tray icon and runs Syncthing in the backgroud automatically.
Setting up another node on an Android device
Syncthing has apps in the Play Store and F-Droid which can be downloaded and installed.
Thanks
Let me know if this has helped in the comments below.
Also, feel free to check out my other blog posts here