Setting up Focalboard - A self-hosted alternative to Trello and Notion
Focalboard
Focalboard is a self-hosted open-source alternative to tools such as Notion or Trello which you can run on your own instance. Focalboard helps with tracking and organising your own work, as well as across a team.
Focalboard is currently in early-access beta, so this post may change over time. We'll try out best to update our tutorial as the project becomes more mature.
You can read more on Focalboard on their site https://www.focalboard.com.
In this tutorial, we're going to be setting up the Focalboard Personal Server, which can be installed on a Ubuntu server to be used within a team either locally, or exposed as a public endpoint using Nginx.
Installing Focalboard
Prerequisites: Provisioning your server
You'll need to either purchase something like a Raspberry Pi with Ubuntu Server installed or use an existing server at your disposal.
I use a Proxmox instance running on a server in my loft.
You could also use something like Digital Ocean to run your Docker server, Using the following link will give you $100 worth of credits for 60 days to play around with, just sign up using this link.
If you are using Digital Ocean, be sure to follow our tutorials on locking down your exposed ports with UFW and setting up a Wireguard VPN to ensure that your Digital Ocean endpoints are protected.
Step 1: Updating your server to the latest version
All of the following instructions are based on the Debian distro, so if you're running a server with Ubuntu, these instructions will be perfect for you. If not, you may have to adjust the commands below to suit your distro.
The first step is to just make sure our server is up to date. Run the following commands to pull down the latest updates from our distro repositories.
sudo apt-get update && sudo apt-get upgradeYou should see an output like the following

Step 2: Installing the Focalboard Personal Server
Firstly, we need to download the latest release package from the Focalboard GitHub release page. This can be done using the wget command.
At the time of writing this, the latest version is v0.6.1 so this is the command that we will be using for this version. You may want to check the version of the latest release of Focalboard here and then update the following command accordingly.
wget https://github.com/mattermost/focalboard/releases/download/v0.6.1/focalboard-server-linux-amd64.tar.gzAfter executing that command, run ls to make sure that your file is present.

Now, we need to extract this tar.gz file. You can do so by running the following command.
tar -xvzf focalboard-server-linux-amd64.tar.gzYou should now see this when running ls again
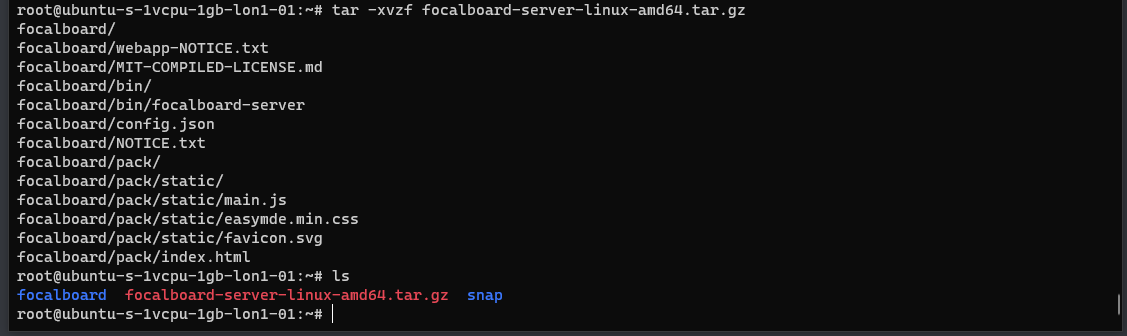
As you can see, we have now exported the Focalboard executable. We now need to move it to our /opt folder on our system.
sudo mv focalboard /optStep 3: Installing and configuring Nginx
Nginx is a reverse proxy that allows us to point a domain name to our Focalboard service. By default, Focalboard will be running on port 8000. In theory, you could skip this step and access Focalboard using your server's IP address and port 8000.
We're going to use Nginx so that we can use a domain name instead.
First, we need to install Nginx.
sudo apt-get install nginxOnce installed, we need to configure a new site. This is essentially a config file that will allow routing on a certain domain name to our Focalboard service.
Usually, I name my sites by their URL. To create a new site, run the following command, substituting my URL with yours.
sudo nano /etc/nginx/sites-available/focalboard.theselfhostingblog.comThis will open up a new window that allows us to add our Nginx configuration. Now, you're about to paste in a lot of text, but don't worry, I'll walk you through what we need to change.
Paste in the following code.
upstream focalboard {
   server localhost:8000;
   keepalive 32;
}
server {
listen 80 default_server;
server_name focalboard.theselfhostingblog.com; #Change Me
location ~ /ws/* {
proxy_set_header Upgrade $http_upgrade;
proxy_set_header Connection “upgrade”;
client_max_body_size 50M;
proxy_set_header Host $http_host;
proxy_set_header X-Real-IP $remote_addr;
proxy_set_header X-Forwarded-For $proxy_add_x_forwarded_for;
proxy_set_header X-Forwarded-Proto $scheme;
proxy_set_header X-Frame-Options SAMEORIGIN;
proxy_buffers 256 16k;
proxy_buffer_size 16k;
client_body_timeout 60;
send_timeout 300;
lingering_timeout 5;
proxy_connect_timeout 1d;
proxy_send_timeout 1d;
proxy_read_timeout 1d;
proxy_pass http://focalboard;
}
location / {
client_max_body_size 50M;
proxy_set_header Connection “”;
proxy_set_header Host $http_host;
proxy_set_header X-Real-IP $remote_addr;
proxy_set_header X-Forwarded-For $proxy_add_x_forwarded_for;
proxy_set_header X-Forwarded-Proto $scheme;
proxy_set_header X-Frame-Options SAMEORIGIN;
proxy_buffers 256 16k;
proxy_buffer_size 16k;
proxy_read_timeout 600s;
proxy_cache_revalidate on;
proxy_cache_min_uses 2;
proxy_cache_use_stale timeout;
proxy_cache_lock on;
proxy_http_version 1.1;
proxy_pass http://focalboard;
}
}
Most of this is configured for you and doesn’t need to be changed. Only the URL which Nginx wants to use. You’ll see that mine is focalboard.theselfhostingblog.com make sure that you change this to your URL. Also, don’t forget the ; at the end of the line. It’ll save you a lot of headaches 😉
We now need to hit Ctrl + x ,y and return to save and exit out of nano.
Now, we just need to register our new site with Nginx, you can do this by running the following command. Again substituting my domain with yours.
sudo ln -s /etc/nginx/sites-available/focalboard.theselfhostingblog.com /etc/nginx/sites-enabled/focalboard.theselfhostingblog.comWe just need to remove the default Nginx configuration to prevent a port clash.
sudo rm /etc/nginx/sites-available/default
sudo rm /etc/nginx/sites-enabled/default
Now, we can test the Nginx configuration. Run the following command.
sudo nginx -tWhich should give us a successful output.

Sweet. Let’s restart the Nginx service.
sudo systemctl restart nginxStep 4: Port-forwarding
If you’re self-hosting this on your own hardware, you will need to port forward your instance to allow public access to your instance. This will involve googling how to port forward from your router.
You’ll need to point port 80 and 443 to your instance where Nginx is set up.
If you’re hosting Focalboard in Digital Ocean, you may need to configure UFW.
I have a tutorial for setting up UFW here
sudo ufw app listOutput
Available applications:
Nginx Full
Nginx HTTP
Nginx HTTPS
OpenSSH
As you can see, there are three profiles available for Nginx:
- Nginx Full: This profile opens both port 80 (normal, unencrypted web traffic) and port 443 (TLS/SSL encrypted traffic)
- Nginx HTTP: This profile opens only port 80 (normal, unencrypted web traffic)
- Nginx HTTPS: This profile opens only port 443 (TLS/SSL encrypted traffic)
It is recommended that you enable the most restrictive profile that will still allow the traffic you’ve configured. Since we will be configuring SSL for our server we will need to temporarily allow port 80 and 443 for Certbot to verify our domain endpoint.
You can enable this by typing:
sudo ufw allow ‘Nginx Full’Step 5: Configuring Certbot
Certbot allows us to generate SSL certificates for free with Let’s Encrypt. It’s simple to install and use. Even hooks in with Nginx, meaning that there’s no more manual configuration required.
To install Certbot, simply run the following commands
sudo apt-get install certbot python3-certbot-nginxThen, to set up your SSL certificate, run. Make sure that you have your domain name pointing to your IP address. This will require some DNS configuration. You’ll need an A Record.
sudo certbot –nginxFollow the instructions, select your domain name from the Nginx list.
Also, select redirect as this will upgrade any HTTP requests to HTTPS.
Once done, if you navigate to your domain, you should see the following page with a 502 Bad Gateway. This is fine as Focalboard isn’t running at the moment. You should also notice that the SSL certificate is causing your domain to be HTTPS!

Installing Postgresql
For your server, it is recommended to use Postgres to store your data in a production environment. To install Postgres, you need to run the following command.
sudo apt install postgresql postgresql-contribOnce installed, we need to log in as the Postgres user to configure our database.
sudo –login –user postgresAnd now, we need to execute into the Postgres helper.
psqlYou should now be in the Postgres prompt.

Let’s create our database to store our Focalboard data.
CREATE DATABASE boards;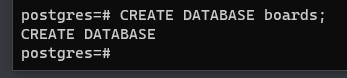
Now, we need to create our user.
CREATE USER ed WITH PASSWORD ‘secretpassword’;
Give yourself a username and a secure password, please don’t copy mine.
We can now exit the Postgres prompt by typing exit.
Then type exit again to exit the Postgres user context.
We now need to tell Focalboard to use the new user we just created. This can be done by updating the Focalboard config file. Type the following command to edit the config.json file.
nano /opt/focalboard/config.jsonYou’ll open a file that looks like the following.
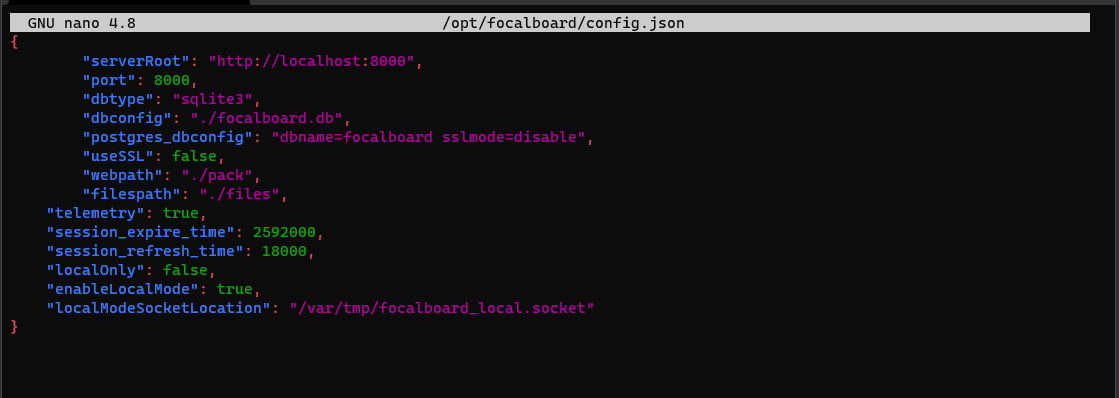
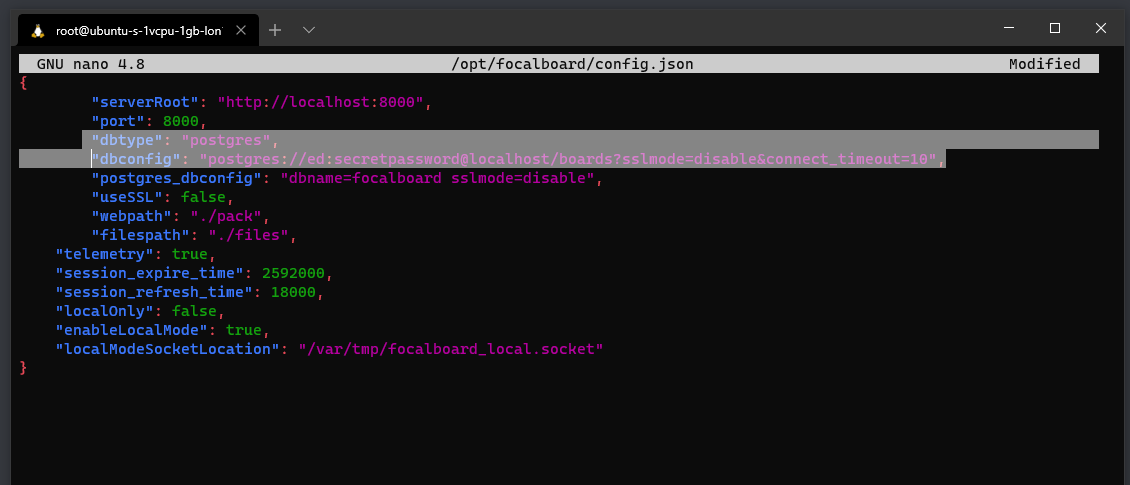
We need to replace lines 4 and 5 with the following to hook into our Postgres database.
“dbtype”: “postgres”,
“dbconfig”: “postgres://ed:secretpassword@localhost/boards?sslmode=disable&connect_timeout=10”,
Make sure to update the dbconfig with your username and password.
It’ll look something like the following.
Save and exit nano like we did before.
Running Focalboard as a service
Nearly there. We now need to configure Focalboard to run as a service on our server. This means that Focalboard will automatically start when our server boots up. To do so, run the following command.
sudo nano /lib/systemd/system/focalboard.serviceOnce again, this will open up a nano window, we just need to paste the following in.
[Unit]
Description=Focalboard server
[Service]
Type=simple
Restart=always
RestartSec=5s
ExecStart=/opt/focalboard/bin/focalboard-server
WorkingDirectory=/opt/focalboard
[Install]
WantedBy=multi-user.target
This is some instructions on how to start up the Focalboard service.
Now, we can start the Focalboard service. Execute the following commands.
sudo systemctl daemon-reload
sudo systemctl start focalboard.service
sudo systemctl enable focalboard.service
Configuring the Focalboard UI
Now, if you kept your browser window open, you might see the page has loaded!

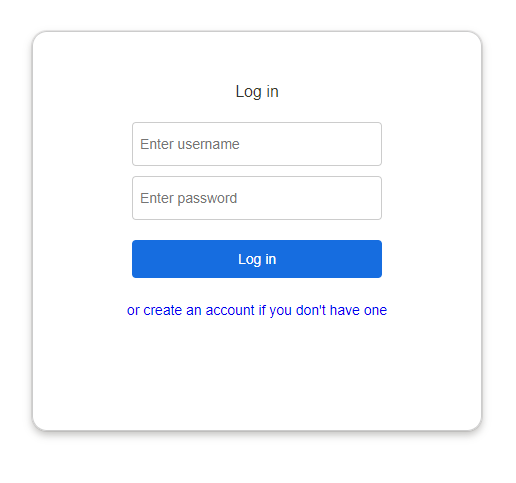
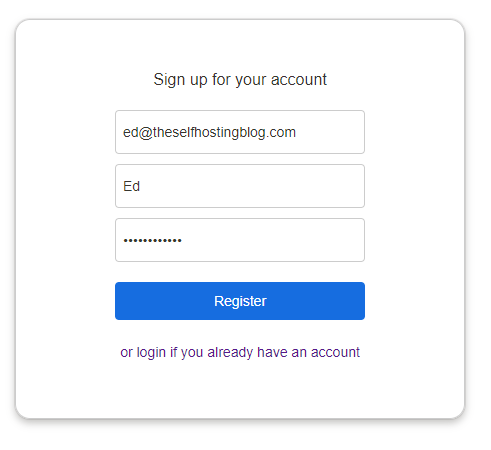
Let’s create a new account.
Fill in your details and hit register.
Once registered, you’ll be greeted with a blank page.

Don’t panic, we just need to add a board.
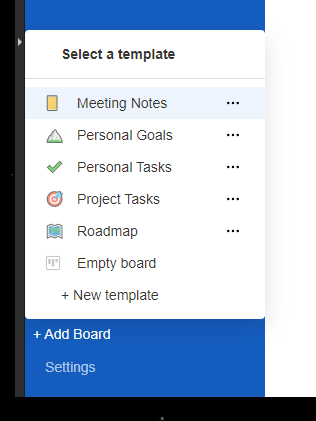
Click on a template and load up your new Focalboard!
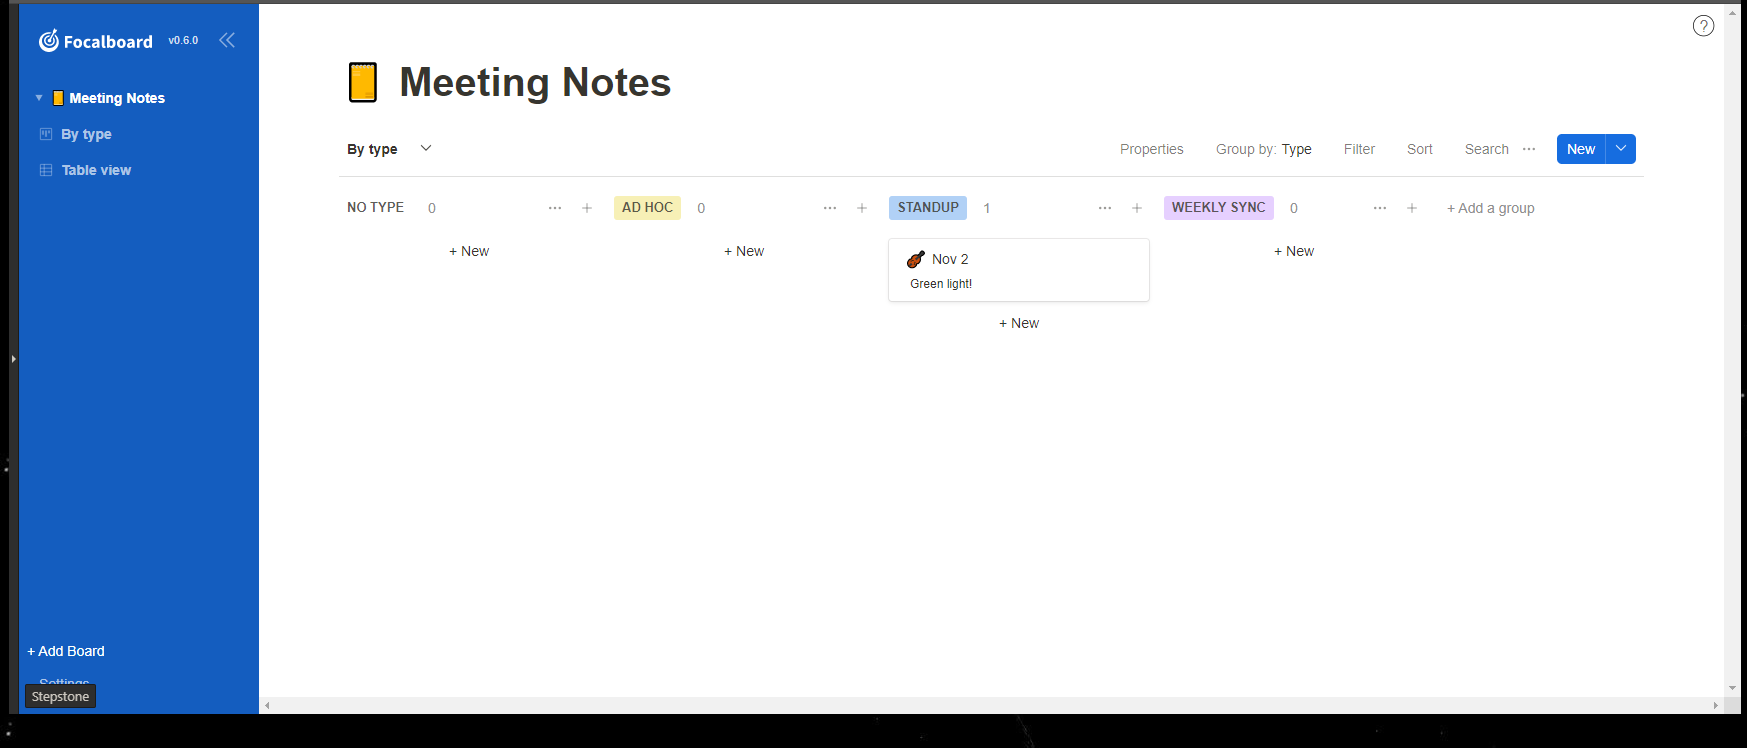
The first user registration will always be permitted, but subsequent registrations will require an invite link that includes a code. You can invite additional users by clicking on your username in the top left, then selecting “Invite users”.
That’s all
You can refer to Focalboard’s User’s Guide to find out more about how to use Focalboard.
To recap, we have…
- Spun up a new server running Ubuntu
- Installed Focalboard onto our server
- Configured Postgres as our database
- Configured Focalboard as a service
- Install an SSL Certificate for HTTPS
- Configured a reverse proxy to point our domain to our running service
- Created a new account on Focalboard
That’s pretty good going!
Let me know in the comments if you get stuck along the way, I’ll do everything I can to help you out. Hope this post helped you!