Completely Self-Hosting Plausible.io. A privacy-friendly alternative to Google Analytics

What is Plausible?
Plausible is a lightweight, ethical, open-source and privacy-friendly Google Analytics alternative.
Google Analytics
Google Analytics collects more data than the average site owner needs to analyse their business, meaning that there is a lot of data being sent to the site owner that is unnecessary and will never be used. Plausible focuses only on the important web analytics data required for a business to get what it needs.
Tracking
The tracking data that Plausible collects are completely in our control. Your tracking details are not sold on to third-parties. Nor is it mined or harvested for personal or behavioural trends.
Open-source
Plausible is completely open-source, meaning that anybody can view their source code and evaluate what the company is doing behind the scenes. With Google Analytics, we have no way of knowing what's being processed on their servers. We don't need to trust Plausible, because they've made it so we don't have to.
Self-hosting
Plausible is also available for self-hosting! Which is amazing. Which we're going to be looking into in this post!
Self-hosting Plausible.io
Prerequisites: Provisioning your server.
Plausible is available to self-host by using Docker and Docker Compose. Plausible will run on any x86_64 architecture. Which unfortunately means we currently can't run Plausible on a Raspberry Pi.
We can however run Plausible in Digital Ocean. This also happens to be recommended by the Plausible.io guys!
Using the following link will give you $100 worth of credits for 60 days to play around with, just sign up using this link.
If you do end up using Digital Ocean, be sure to follow our tutorials on locking down your exposed ports with UFW
Step 1: Installing Docker on your server
All of the following instructions are based on the Debian distro, so if you're running a server with Ubuntu, these instructions will be perfect for you. If not, you may have to adjust the commands below to suit your distro.
The first step is to just make sure our server is up to date. Run the following commands to pull down the latest updates from our distro repositories.
sudo apt-get update && sudo apt-get upgradeYou should see an output like the following

Next, we need to install Docker. Docker is the layer which your containers run. Portainer is a UI that sits upon Docker to assist with container management.
To install Docker on your instance, you need to run the following command.
The following script is a convenience script provided by the Docker team. It's highly recommended to always check what you're going to execute, before executing it.
curl -fsSL https://get.docker.com -o get-docker.sh
sudo sh get-docker.shOnce you have executed the Docker install script. You should see an output like the following.
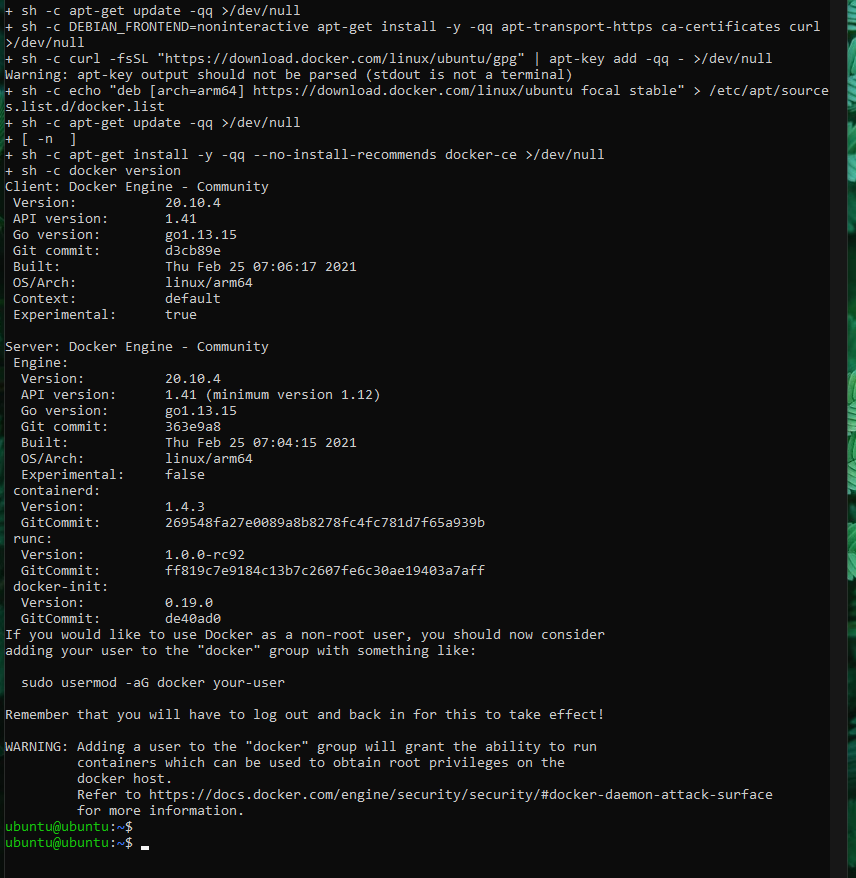
As you can see in the output, the command was executed successfully. You may also notice that there is a console message specifying how to use Docker as a non-root user.
This means that whenever you are executing the Docker command, you'll no longer need to type in your sudo password.
If this sounds good to you, you can simply run the provided command, substituting your-user for your server user. In my case, my user is ubuntu. My command would look like this.
sudo usermod -aG docker ubuntuWe also need to install Docker Compose. This can be done by running the following commands.
sudo curl -L "https://github.com/docker/compose/releases/download/1.28.5/docker-compose-$(uname -s)-$(uname -m)" -o /usr/local/bin/docker-compose
sudo chmod +x /usr/local/bin/docker-compose
Step 2: Installing Plausible.io
It's now time to get Plausible up and running on our container 🎉
Let's start by making sure we're in the correct context on our server.
cdThis will make sure that we're in our Home folder for our user!
Next, let's clone Plausible's latest hosting repository. Run the following commands.
git clone https://github.com/plausible/hosting
cd hosting
You'll find 2 important files in this directory.
docker-compose.yml- This is the guts of Plausible. It comes with sensible defaults that are ready to go but feel free to change some options if you need to.plausible-conf.env- configures the Plausible server itself. Full configuration options are documented here.
Part of the plausible-conf.env contains a line for SECRET_KEY_BASE. We'll need to generate a random base64 string for this value. This will be used to secure your app.
openssl rand -base64 64You should get an output that looks something like the following.
N5bBVFKyQI4JtYD4h5k/hd+sHi3h2uz/cO+RhCv0ed88+5an//dEW1kbnQCFOMhU
y0venoG8ZUdY/w0Ya2BStg==
We now need to edit the plausible-conf.env file to configure our variables. Using your favourite editor.
vim plausible-conf.envYou will need to fill out the environment file with some values. Here's an example of my configuration.
Note: we'll need to specify an endpoint here that we want Plausible to run on, more on this later.
ADMIN_USER_EMAIL=ed@theselfhostingblog.com
ADMIN_USER_NAME=Ed
ADMIN_USER_PWD=test
BASE_URL=https://plausible.theselfhostingblog.com
SECRET_KEY_BASE=N5bBVFKyQI4JtYD4h5k/hd+sHi3h2uz/cO+RhCv0ed88+5an//dEW1kbnQCFOMhU
y0venoG8ZUdY/w0Ya2BStg==
Step 3: Starting Plausible.io
That's all the config done for now! let's start it up.
docker-compose up -dEventually, you should see the following output.
Creating hosting_mail_1                ... done
Creating hosting_plausible_db_1        ... done
Creating hosting_plausible_events_db_1 ... done
Creating hosting_plausible_1           ... done
Now, we should be able to navigate to our service running on localhost:8000 (or your IP address, if you're running in Digital Ocean)
Success!
Configuring Plausible.io
Logging in
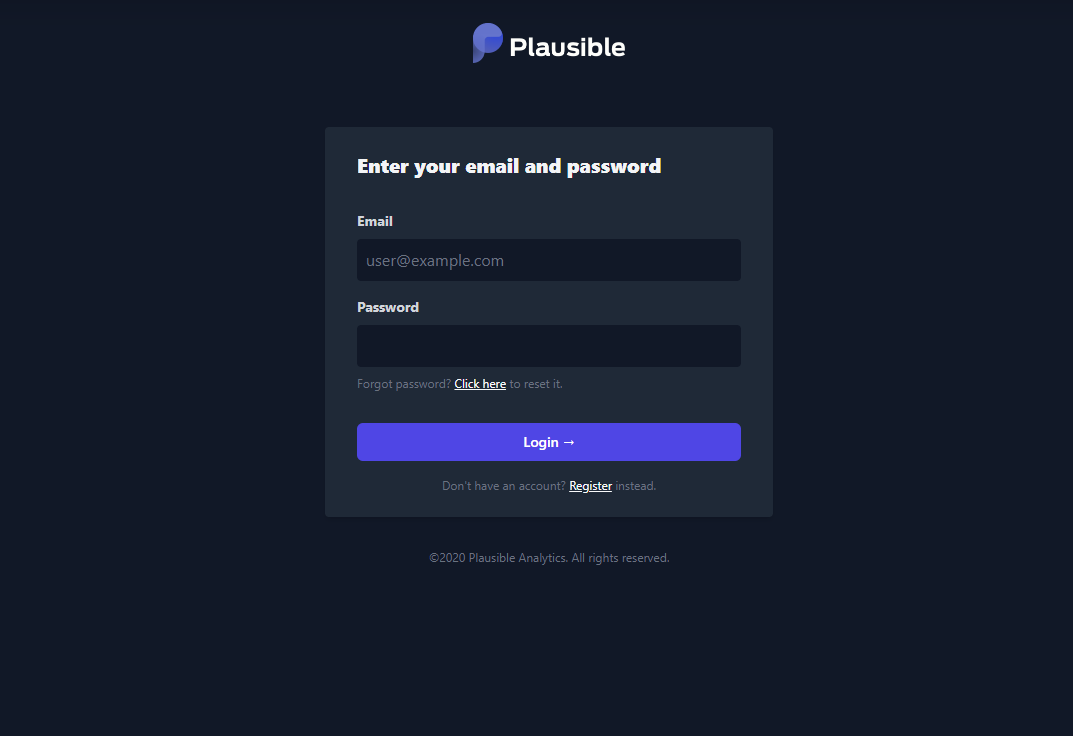
To log in, we just need to use the details that we created earlier in the Installing Plausible.io section.
Activating your account
Sweet, after logging in, we should have an email sent to us with the activation code.
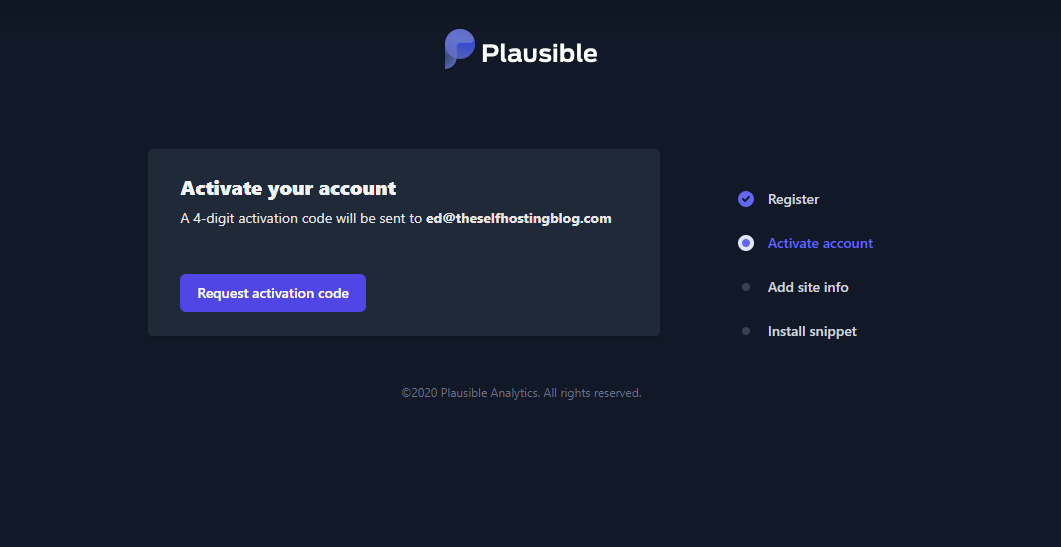
Click on Request activation code
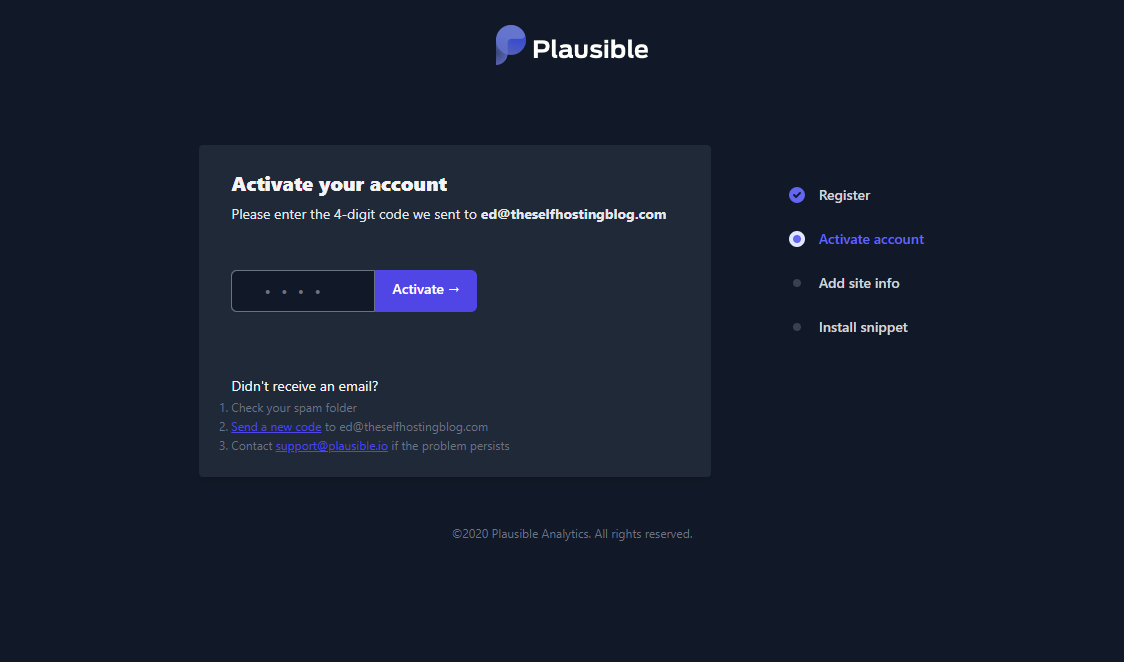
You should receive an email within a few seconds. Mine ended up in my spam folder. Enter the code that you receive and move on to the next section.
If you're having issues with receiving your activation email. You can use the command below to manually activate your account.
docker exec hosting_plausible_db_1 psql -U postgres -d plausible_db -c "UPDATE users SET email_verified = true;"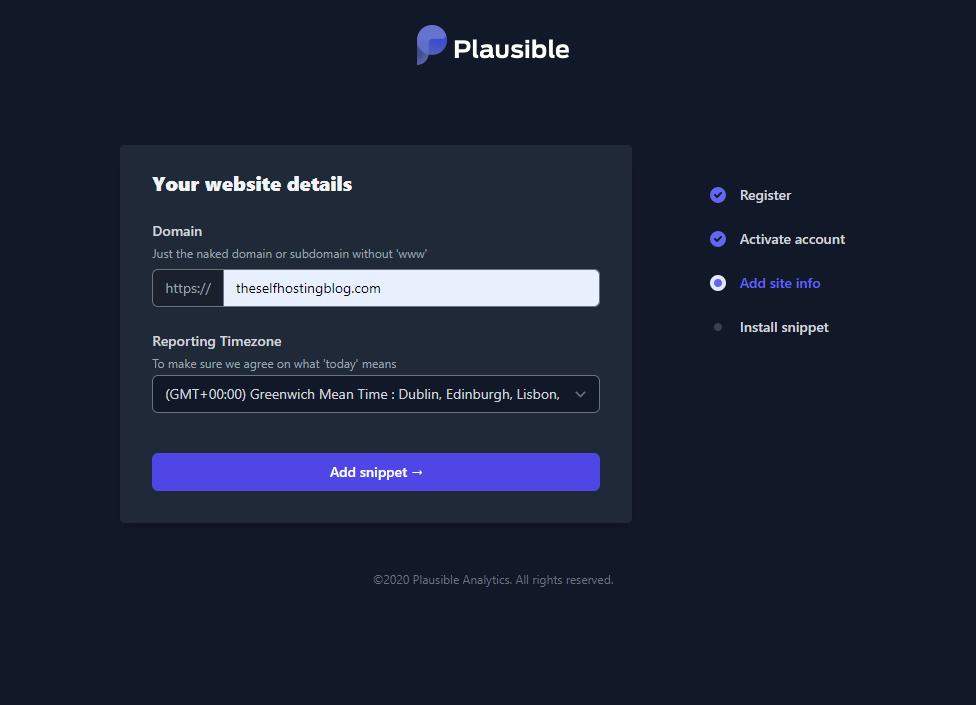
Enter your domain name for your site and the timezone that you're in.
Then move on to Adding the Snippet.
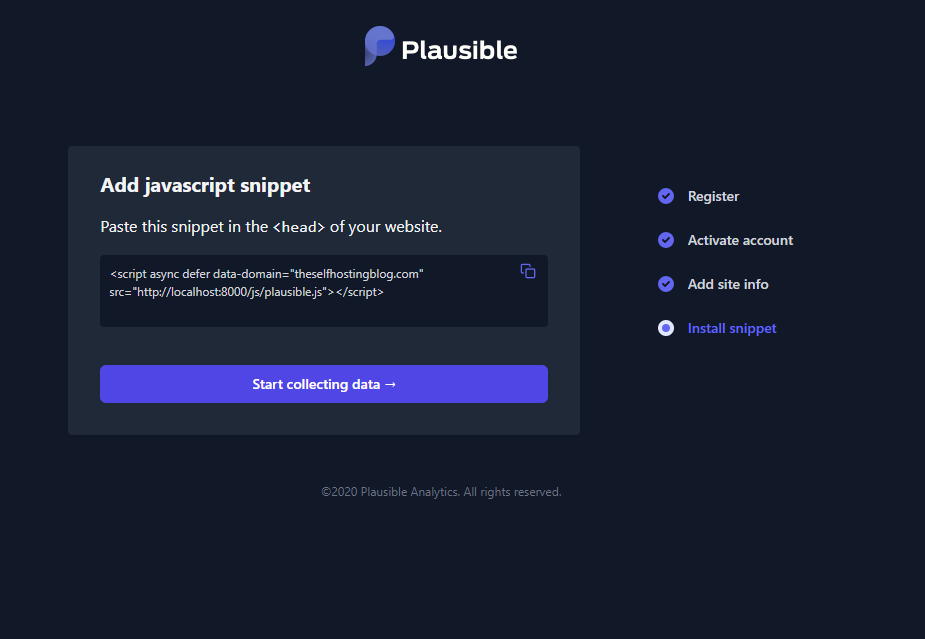
As you can see below, there's a javascript snippet that you need to add to the head of your website. This should be simple to do, whether it's adding it into your website HTML, or using code injection if your site is running on a CMS.
After adding your code, click on Start collecting data.
Awesome! we're nearly there!
Configuring Nginx
We need to set up Nginx on our instance to allow us to point a domain at our Plausible.io instance.
Installing Nginx
We first need to execute the following command to get Nginx installed.
sudo apt-get install nginxIf you have UFW installed, you will have to allow Nginx through your local firewall.
I have a tutorial for setting up UFW here
 Ed Leeman
To allow Nginx, run the following command.
sudo ufw app listOutput
---
Available applications:
Nginx Full
Nginx HTTP
Nginx HTTPS
OpenSSH
As you can see, there are three profiles available for Nginx:
- Nginx Full: This profile opens both port 80 (normal, unencrypted web traffic) and port 443 (TLS/SSL encrypted traffic)
- Nginx HTTP: This profile opens only port 80 (normal, unencrypted web traffic)
- Nginx HTTPS: This profile opens only port 443 (TLS/SSL encrypted traffic)
Run the following
sudo ufw allow ‘Nginx Full’The next thing to do is just double check your Nginx server is up and running
sudo systemctl status nginxYou should see something that looks like the following
● nginx.service - A high performance web server and a reverse proxy server
Loaded: loaded (/lib/systemd/system/nginx.service; enabled; vendor preset: enabled)
Active: active (running)
…
The next part allows us to take incoming traffic and point it to your container instance. Allowing you to point your domain at your Plausible.io instance.
Navigate to /etc/nginx/
cd /etc/nginx/
Use your favourite text editor and open the following file with sudo
sudo vim nginx.conf
Paste in the template below. Being sure to substitute example.com with your domain that we configured back in the Installing Plausible.io section.
server {
# replace example.com with your domain name
server_name example.com;
listen 80;
listen [::]:80;

location / {
	proxy_pass http://127.0.0.1:8000;
	proxy_set_header X-Forwarded-For $proxy_add_x_forwarded_for;
}
}
Save and quit, then restart Nginx.
sudo systemctl restart nginxPort-forwarding
You will need to port forward your instance to allow public access to your instance. This will involve googling how to port forward from your router.
You’ll need to point port 80 and 443 to your instance where Nginx is set up.
Installing Certbot
Certbot allows us to generate SSL certificates for free with Let’s Encrypt. It’s simple to install and use. Even hooks in with Nginx, meaning that there’s no more manual configuration required.
To install Certbot, simply run the following command
sudo apt-get install certbot python-certbot-nginxThen, to set up your SSL certificate, run
sudo certbotFollow the instructions, select your domain name from the Nginx list.
Also, select redirect as this will upgrade any HTTP requests to HTTPS.
Wrapping up
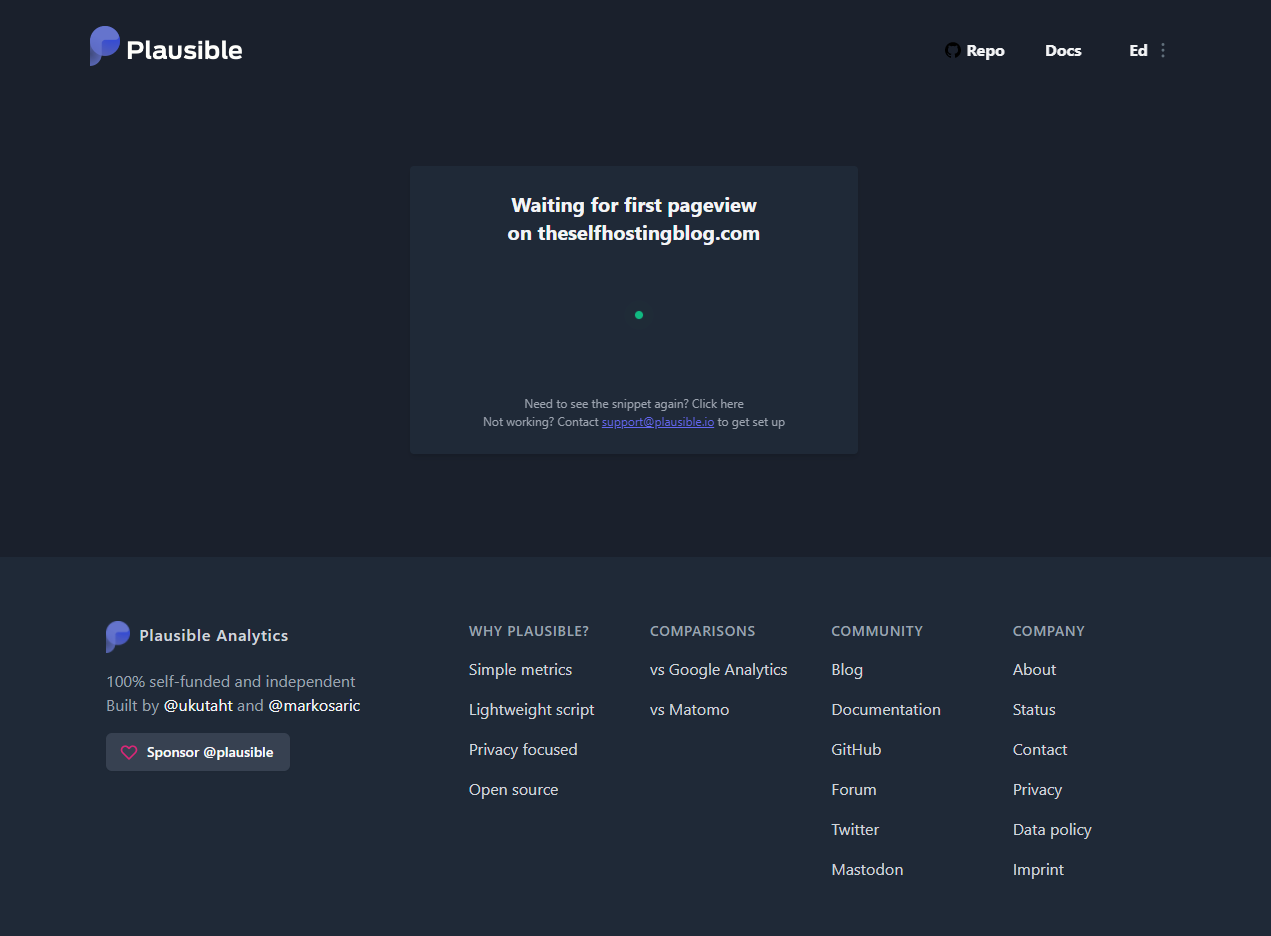
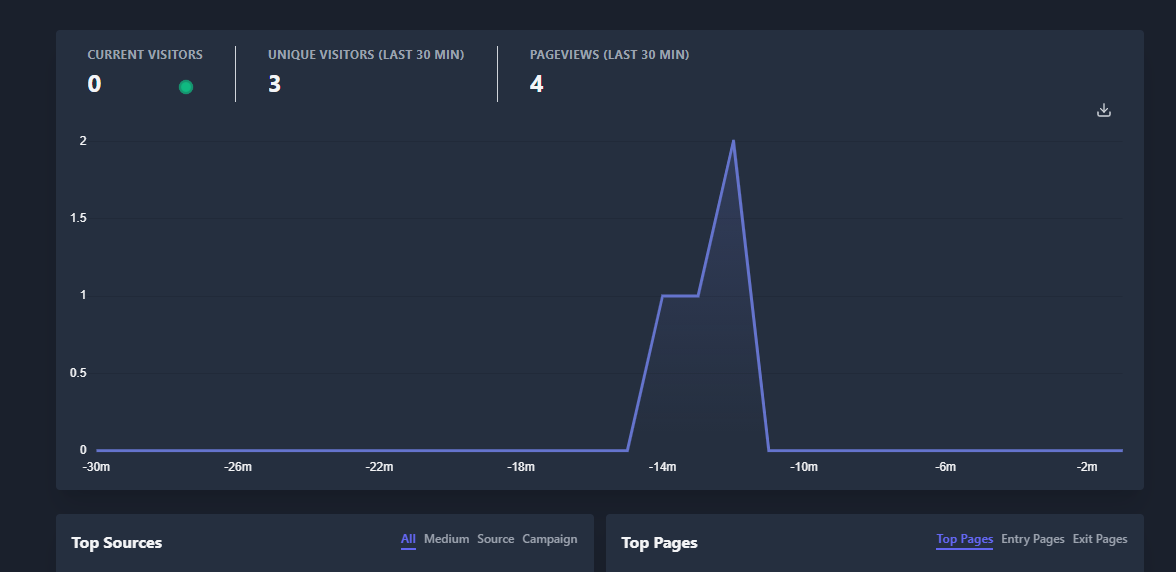
You should now be able to load up Plausible.io on your configured domain. After Nginx and Certbot have been set up, you can check back to see whether you’re getting any visits in the Plausible dashboard.
Thanks so much for reading! If you liked this post or it helped you in any way please consider subscribing to our weekly newsletter. It has all our latest posts and it really helps us out, as always there won’t be any spam. Ever.
Also, if you run into any issues, please let us know in the comments below, we’ll do our best to help you out!
How to support Plausible
We love what Plausible.io are doing, we love that they’re open-source and have allowed the community to self-host their service.
For this reason, we at The Self-Hosting Blog will be continuing to use their hosted service. There is the option to become a sponsor, which we highly recommend!
Here’s the official note from Plausible
Self-hosting our analytics product is free as in beer. You only need to pay for your server and whatever cost there is associated with running a server. You never have to pay any fees to us, only to your cloud server provider. If you choose to self-host Plausible you can become a sponsor which is a great way to give back to the community and to contribute to the long-term sustainability of the project. Simply put, we treat sponsors like paying customers which means you can receive guaranteed priority support.