Host your static blog for free with the Digital Ocean App Platform

Digital Ocean
What is Digital Ocean's App Platform?
Digital Ocean has introduced a new product called App Platform which allows developers to quickly and easily build, deploy and scale apps. Digital Ocean will manage the solution for you, which means that the infrastructure, HTTPS, CDN and DNS routing is all done for you. This is awesome as it makes deploying apps simple.
With Digital Ocean's App Platform, there is also the offer to host 3 static sites for free using their Starter pricing structure.
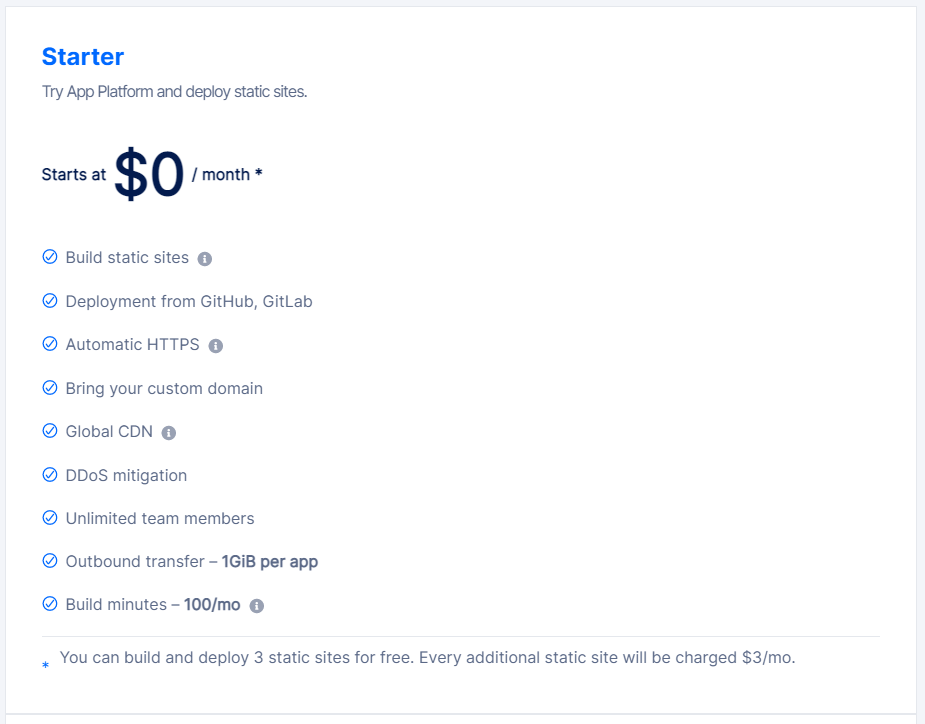
What is a static site?
A static website is essentially images and text. Each page is fixed with the content that was written by the author. Static sites are the most basic type of website and are the easiest to create.
Supported static site generators
Below are some examples of static site generators that Digital Ocean supports
For this tutorial, we're going to be using Hugo!
Setting up your static Hugo site
This is just going to be a brief walkthrough of how to get a Hugo site set up. I won't show you how to use Hugo. You can follow their quickstart guide to get familiar with Hugo
Installing Hugo locally
To get up and running, we need to install the Hugo CLI on to our local environment. This will allow us to provision a new website, write posts and deploy it to our server. Don't panic though, this isn't where your website is going to be hosted. It's just where the tool lives to generate your website and write content
I'll be setting it up on my local Windows 10 machine with WSL installed. There are other setup instructions if you're not using WSL Windows. Such as Homebrew.
Anyway, WSL instructions.
Make sure you're fully up to date.
sudo apt-get update
sudo apt-get upgrade
Next, we just need to pull down Hugo.
sudo apt-get install hugoOnce installed, we can create a new site. It doesn't matter where we create it, as we'll be committing it to Github to allow Digital Ocean to deploy our site!
hugo new site example.comThis will create a new directory, this is your website directory.
The Hugo output will look something like this.
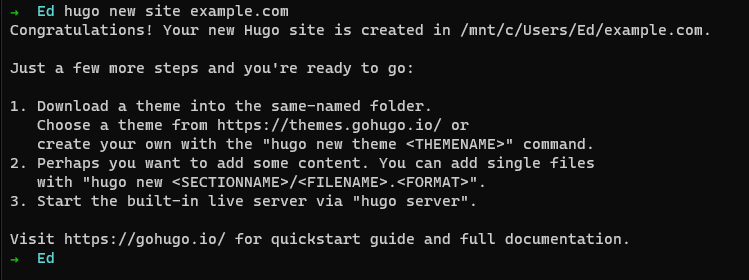
Awesome! all good.
Now, we need to create a Git repository to allow us to commit our website to Github.
It's worth noting that Digital Ocean also supports GitLab, so whichever you feel most comfortable with.
Change directory into your new website directory.
cd example.comConfiguring source-control
Initialising Git
Now we just need to initialise the Git repository.
git initIf you don't have git installed, just run the following.
sudo apt-get install gitCreating a new repository
We now need to navigate to GitHub (or GitLab) and create a new repository. This can be private if you want it to be!
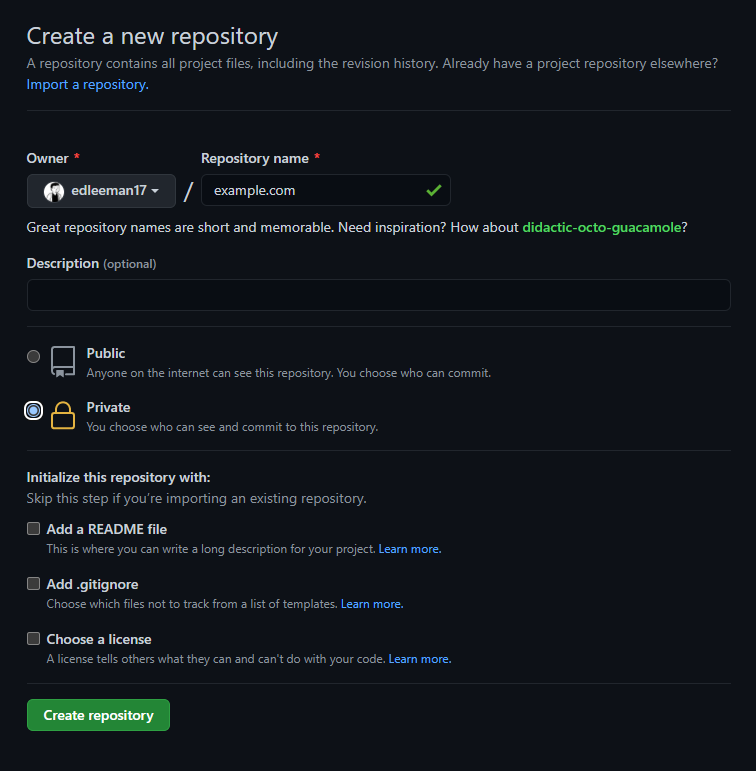
Once configured, Create the repository!
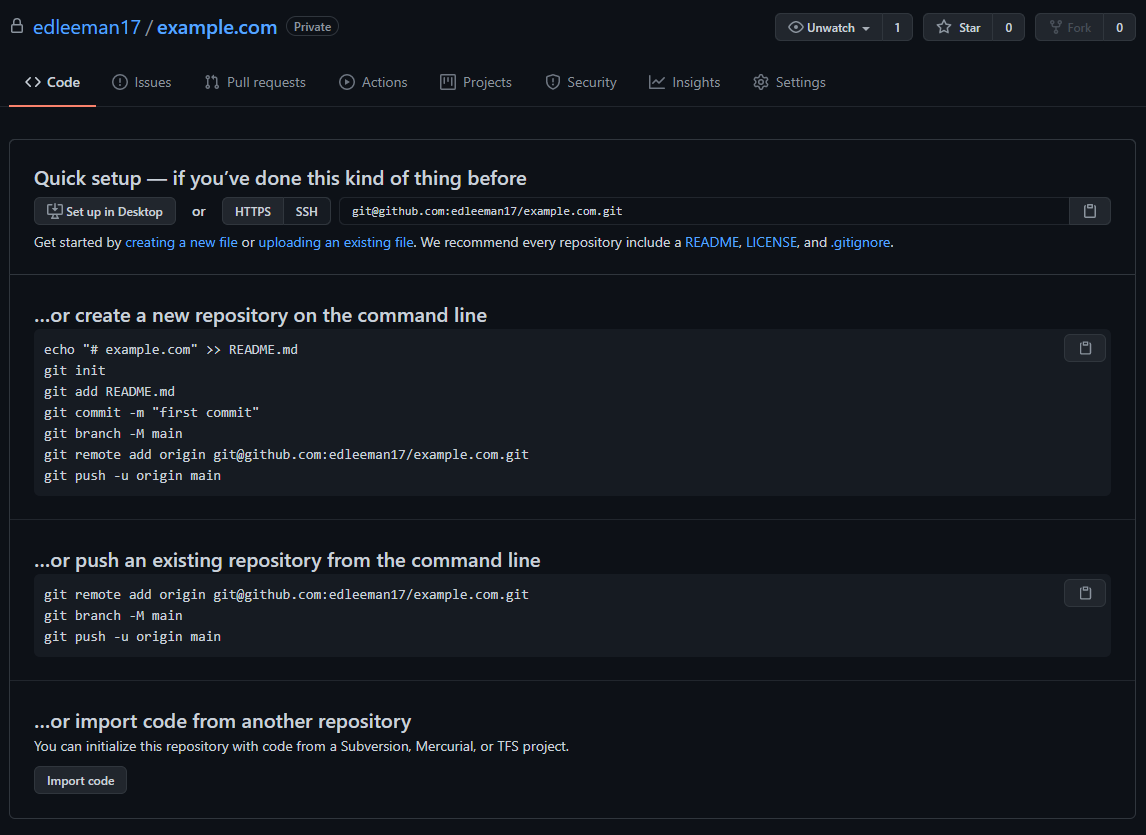
Now, we need to follow the steps under the ...or push an existing repository from the command line
Back on WSL, we need to run the suggested commands to tie our local Git repository with the Github repository.
Make sure you're in the root of your website directory, where we added the .git file.
cd example.comWe now need to hook our Git repository up to Github.
Configure the origin.
git remote add origin git@github.com:edleeman17/example.com.gitNow, we need to get Hugo to generate the site for us.
hugo -DThis will produce a public/ directory which will contain our static site files.
We now need to add all these files to our Git branch
git add *Add a commit message
git commit -m "Initial commit"Push our changes up to the origin.
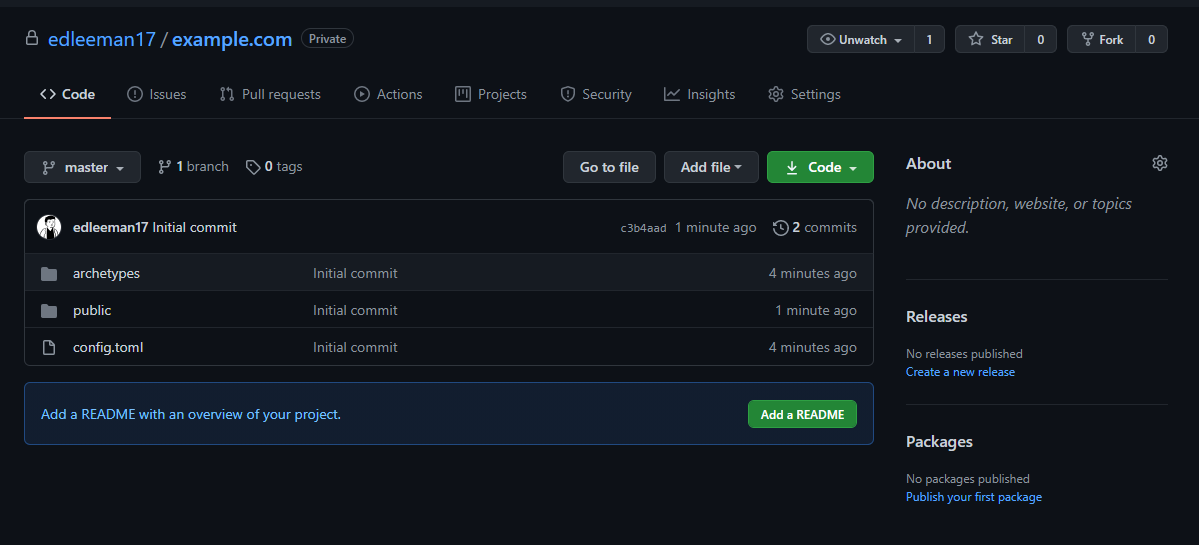
git push -u origin masterOnce pushed, you should see something like this on GitHub!
Setting up Digital Ocean
Creating an account
You need to navigate to Digital Ocean and create a new account. Using this link will give you $100 worth of credits for 60 days to play around with. This is perfect if you want to use Digital Ocean for spinning up Valheim servers or Bitwarden Instances.
You don't need any credits to host your Hugo site.
Setting up a new App
Once you have an account, you should navigate to the Apps section. And then click on Create App.
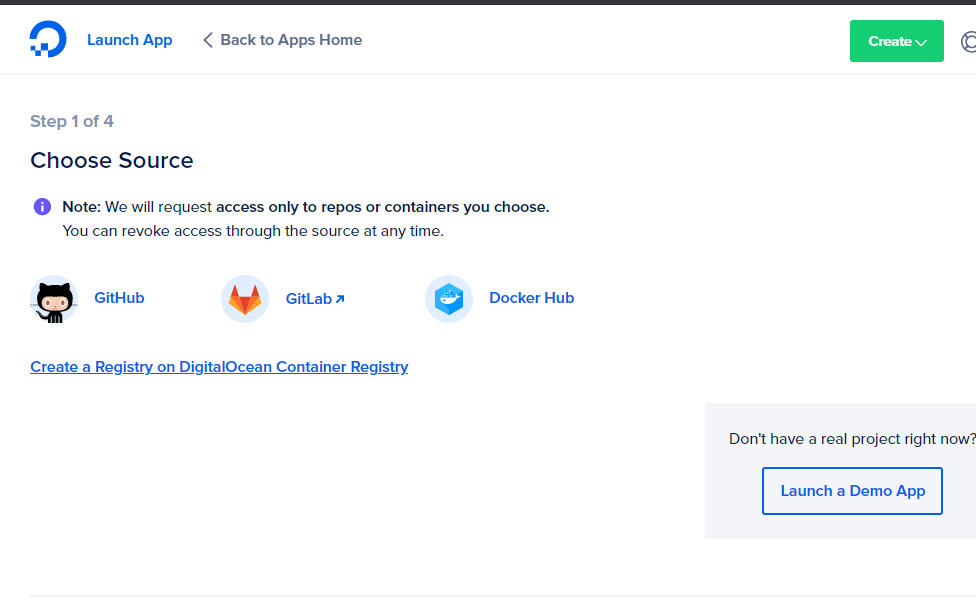
So, depending on which source you used, you need to click one of the sources shown.
We used GitHub, so I'm going to click GitHub.
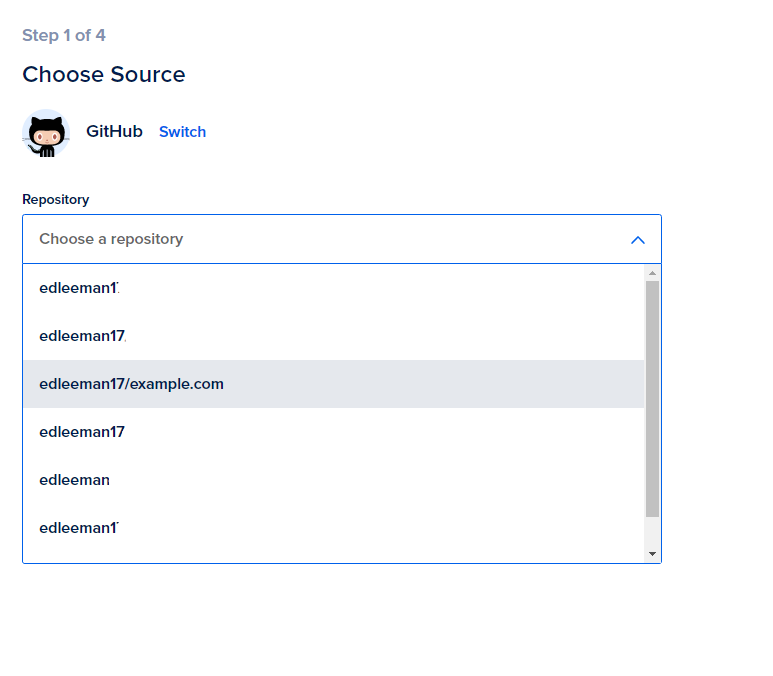
Next, we need to select our repository.
And then the branch.
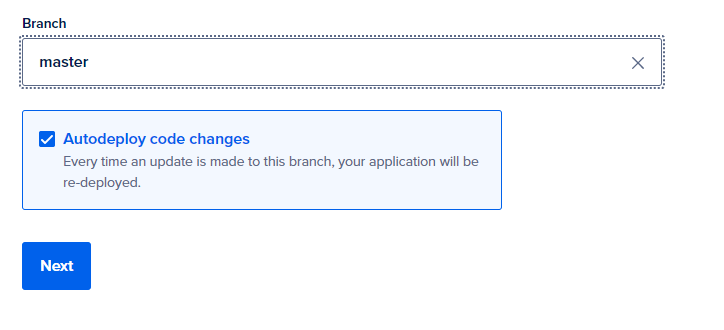
Digital Ocean will then detect that Hugo is the static site in your Git repository.
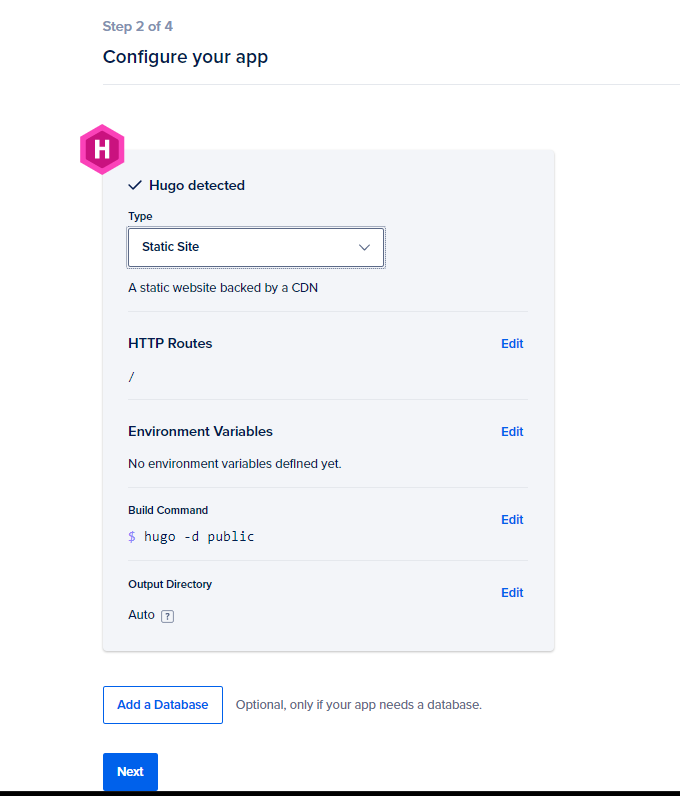
You can leave all these values as default. Hit Next.
Now, give your site a name. This is just for internal purposes to Digital Ocean.
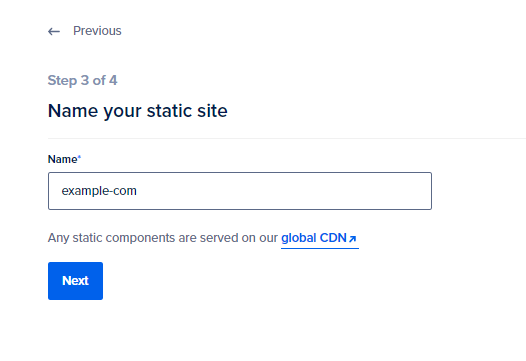
Finally, select the Starter package and hit Launch Starter App

Deploying your App
Once you have clicked Launch Starter App, you'll be taken to your App dashboard.

You can see that Digital Ocean is now building our app and deploying it. You'll know when your site is live when you see "Deployed successfully!" at the top of your dashboard.

Let's go see our website. Click on the Live App button.
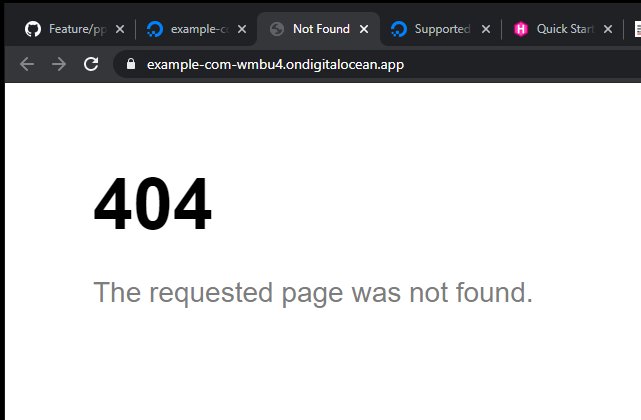
Sweet! we have a live URL! and an SSL certificate! Now, there's no content because we haven't configured any yet. Refer back to the Hugo quickstart guide for adding pages etc.
Make sure to commit your changes to the Git repository and Digital Ocean will automatically poll your Git repository and deploy any new changes.
Configuring your domain name
We can now point a nicer looking domain name at our website. You should already have a domain name in mind. But if not, you can pick up a cheap one from NameCheap.
On your App dashboard, click on the settings tab.
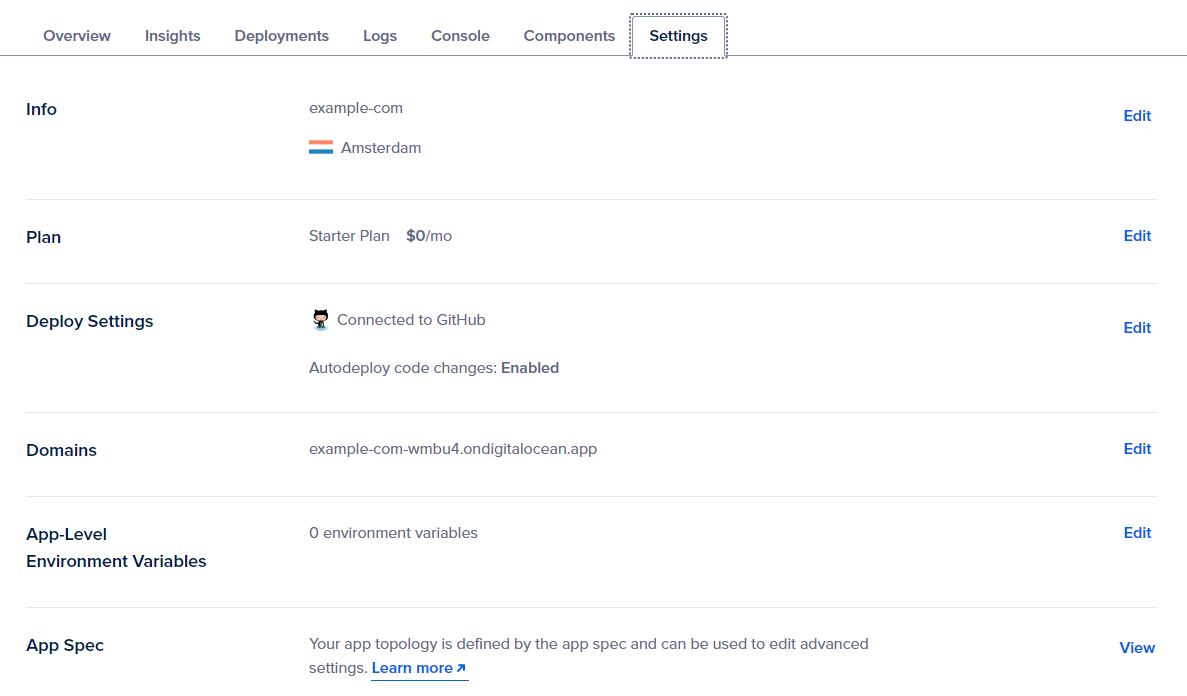
Down the list, you will find the Domains section. Click Edit.
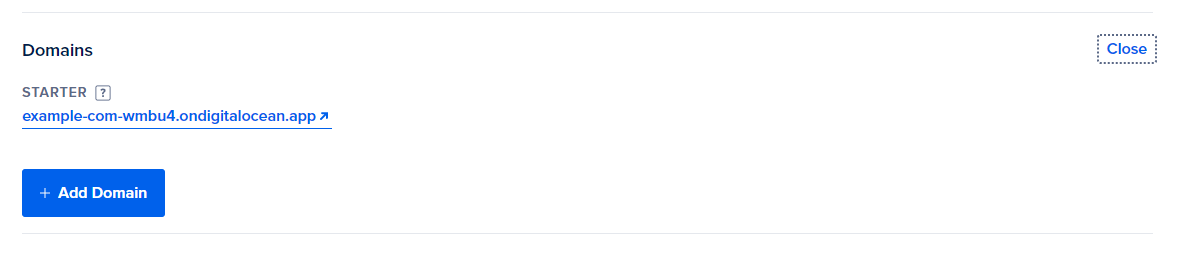
Then click Add Domain.
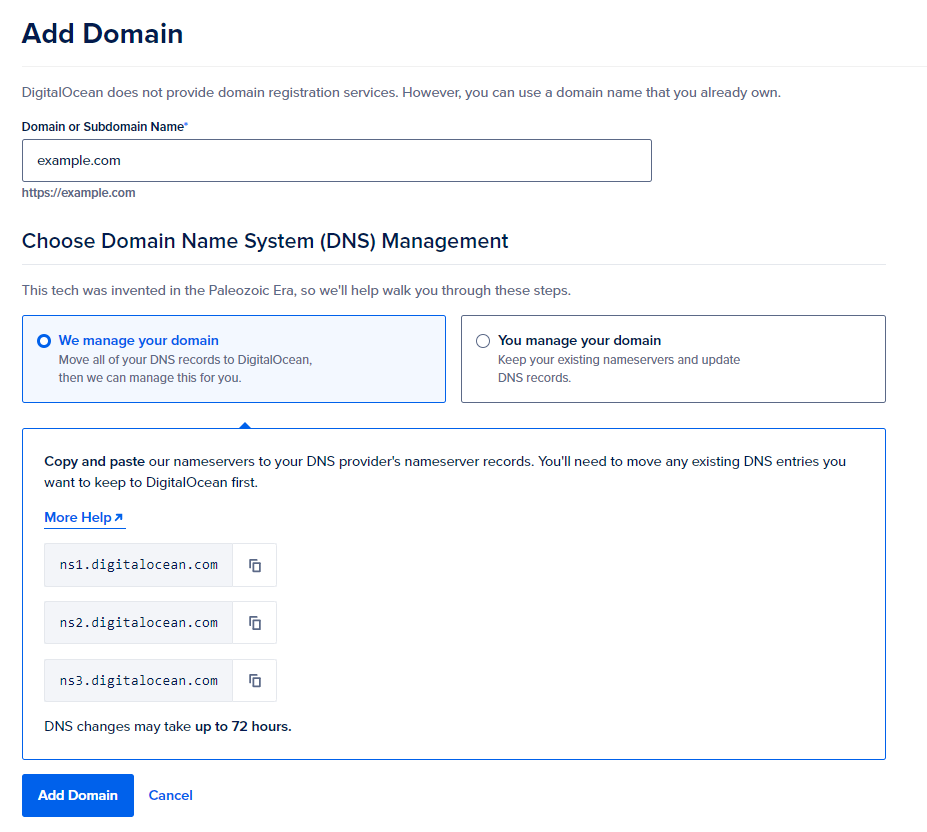
Enter the domain name that you have just purchased.
You have two options here, either allow Digital Ocean to manage your DNS records and point your domain to their server. Or manually manage your domain to point to their servers.
Out of simplicity, I'm going to allow Digital Ocean to manage my domain.
You need to log into your domain name provider and change the nameservers to point to Digital Ocean.
- ns1.digitalocean.com
- ns2.digitalocean.com
- ns3.digitalocean.com
Once done, Add your domain.
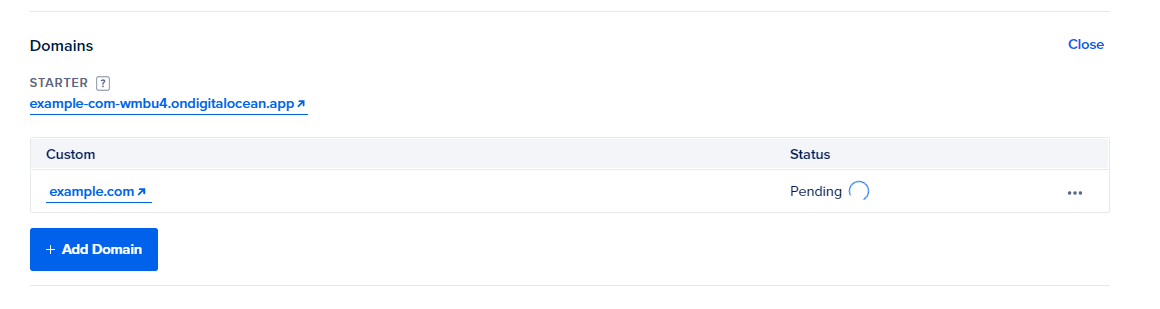
You'll see that the custom domain name is now pending. Now, DNS is a magical thing, it'll take 24 hours for your domain name to point to your Digital Ocean app. Just give it time, try navigating from a different machine, incognito, from 4G etc.. eventually, you will see your site pop up.
The long wait
Wait for your DNS to propagate, after that, there's not much more to it. Simply use the Hugo tool to write your posts. Commit to GitHub. Enjoy your site.
Thanks for reading along, hopefully, it helped you out. Feel free to add any comments down below!