How to self-host PiHole, an internet advertising black hole
This article will cover setting up your own self-hosted PiHole instance. Allowing you to run an internal DNS and block internet advertisements from reaching your machine.
What is PiHole?
PiHole offers Network-wide protection for internet advertisements. PiHole saves you from needing to install an Ad-blocker on each device that you own. PiHole even blocks in-app advertisements, so no longer, are your free-to-play games interrupted by those annoying adverts.
 telekrmor
PiHole can also improve your network performance, as advertisements are no longer being downloaded, every time you load up a new website.
PiHole can also take the role of your DHCP client. This means that whenever a new device connects to your router, it can automatically have adverts blocked. PiHole allows you to put devices into conditional groups.
Let's say that your partner wants to be able to click on their favourite Buzzfeed quizzes, to find out what type of bread they are. PiHole allows you to assign either a MAC Address or IP Address to be excluded from the PiHole advertisement block list.
 Mathew Guiver
PiHole also offers whitelists and blacklists. Meaning that if a domain slips through the PiHole net, you have the option of forcing a domain to be blocked.
This is great for when I've had enough of eating takeaways and end up blocking all of the common takeaway URLs on my internal network.
On the other hand, if there's a website that you frequent, which is being blocked. You can whitelist that site for your viewing pleasures.
How does PiHole work?
To understand PiHole, you need to understand DNS. DNS, or Domain Name System, is a service that is provided by a third party. When you, the computer user, want to navigate to a website, you would generally use a domain name to find the server which the website is hosted on.
DNS is the magic that prevents you from needing to remember the IP address associated with the Website.
So when you make a website request, to https://bowlerdesign.tech for example, the DNS server will look through a list of domain and IP address mappings to find the IP address best associated with the domain name you're looking for. If the DNS server finds a match, it redirects you to the server which is hosting the website. If the DNS server can't find a match, then you might see an error along the lines of ERR_NAME_NOT_RESOLVED
So what does PiHole have to do with this?
PiHole acts as your primary DNS server for your internal network. So as you're making requests on your local network, PiHole is checking every URL submitted, against the PiHole blocklist.
This means that if you navigate to a website that has advertisements, PiHole will spot that the advertisement URL is in the blocklist, and then sending back the ERR_NAME_NOT_RESOLVED error to us.
PiHole finally sends all the requests that have not been blocked, upstream to a DNS server of your choice. All of this in a matter of milliseconds.
How do I set up PiHole?
PiHole, hence the name, was originally intended to be served from a Raspberry Pi but can now be set up on any kind of Linux enabled device.

Step 1: Set up the server you want to run PiHole on
You'll need to either purchase a Raspberry Pi or use an existing server at your disposal. I use a Proxmox instance running on a server in my loft. You could also use something like Digital Ocean to run PiHole, meaning that you can install something like WireGuard to block ads on the go! Using the following link will give you $100 worth of credits for 60 days to play around with, just sign up using this link.
Anyway, after you have accessed your machine, we need to run the following install script provided by PiHole
Step 2: Installing PiHole
Run the following command to install PiHole on your device
curl -sSL https://install.pi-hole.net | bash
You should see something like this after a couple of seconds.
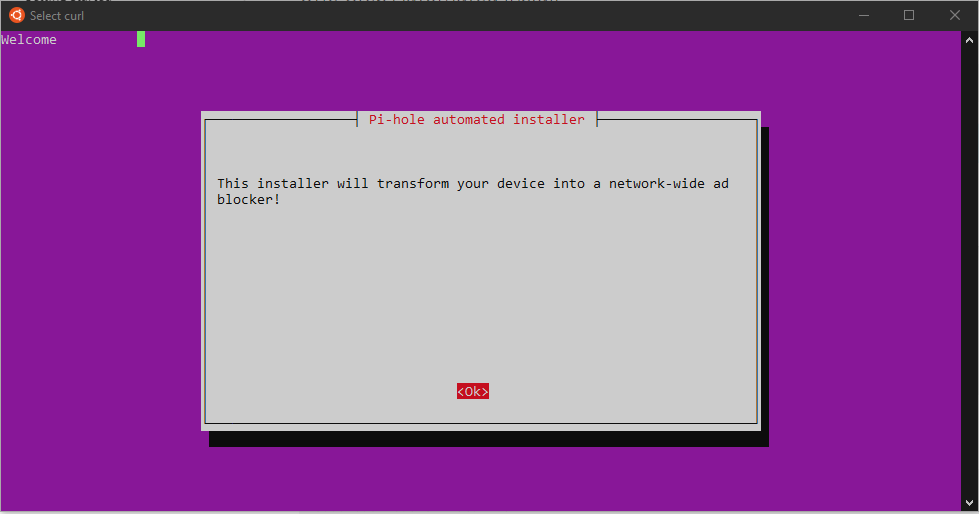
Press Enter to continue
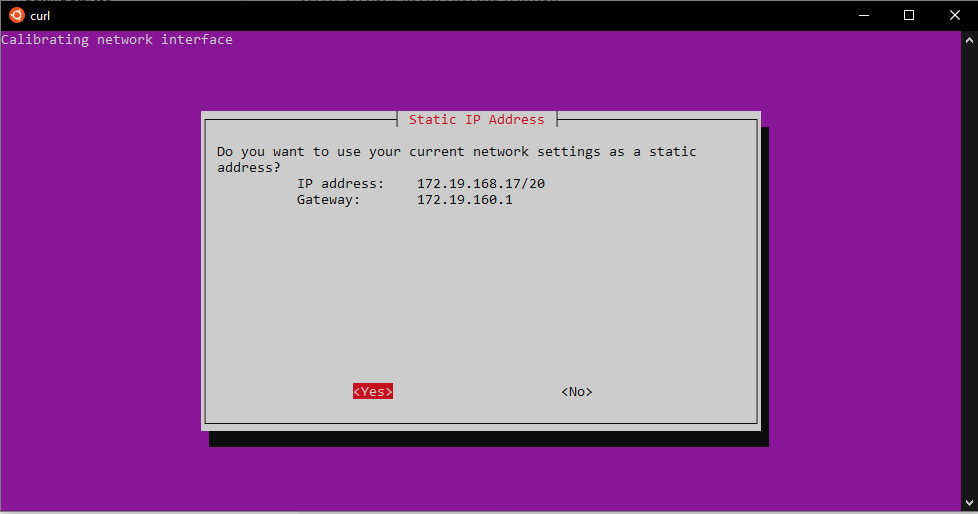
You'll then see a screen that looks like the following.
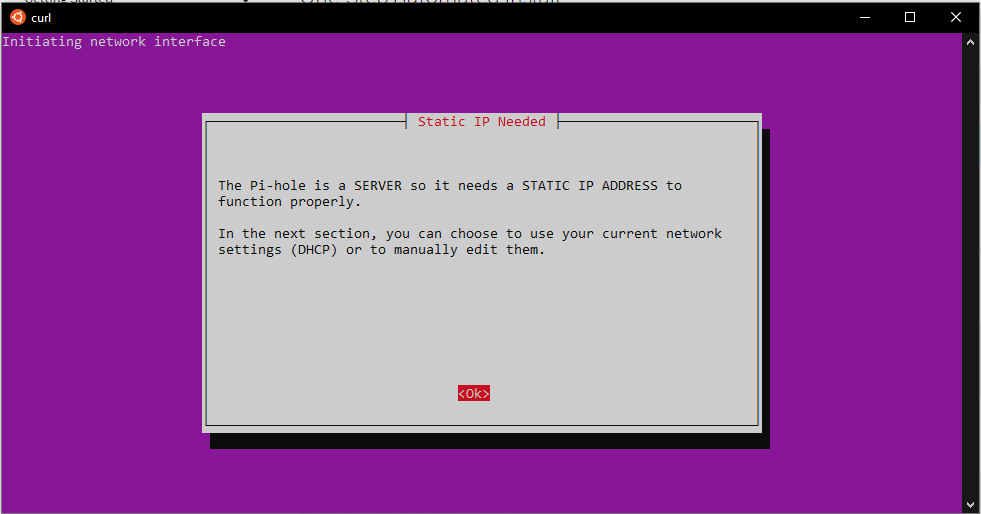
Nothing to be scared of, this just means that the server that your PiHole instance runs on, the IP address associated with that machine shouldn't change. This is as simple as logging into your router and preserving a DHCP reservation for the PiHole machine.
Next, you pick the upstream DNS server, remember I mentioned this in the "How does PiHole work?" section.
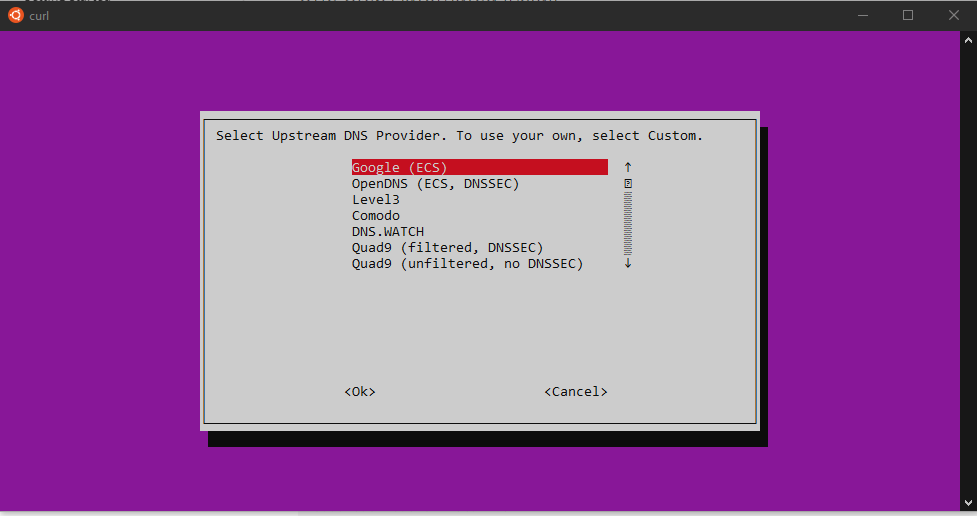
Personally, I avoid Google, so I scroll to the bottom and pick Cloudflare, which offer the 1.1.1.1 DNS.

The next section is selecting the community-driven blocklist, this contains ~700,000 domains which are common advertisement URLs.

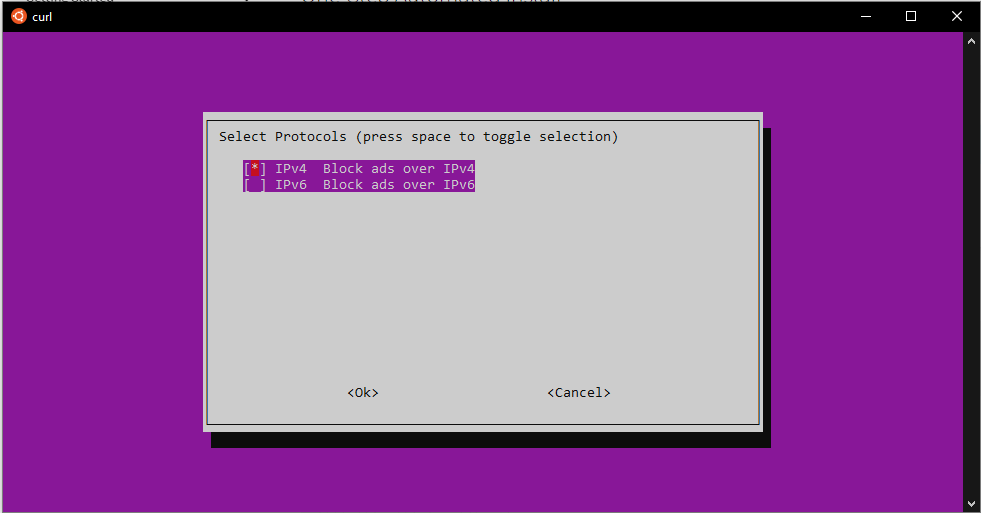
Next, select whether you're using both IPv4 and IPv6. My router is only using IPv4, so I deselected IPv6.
Just hit enter for this next step.
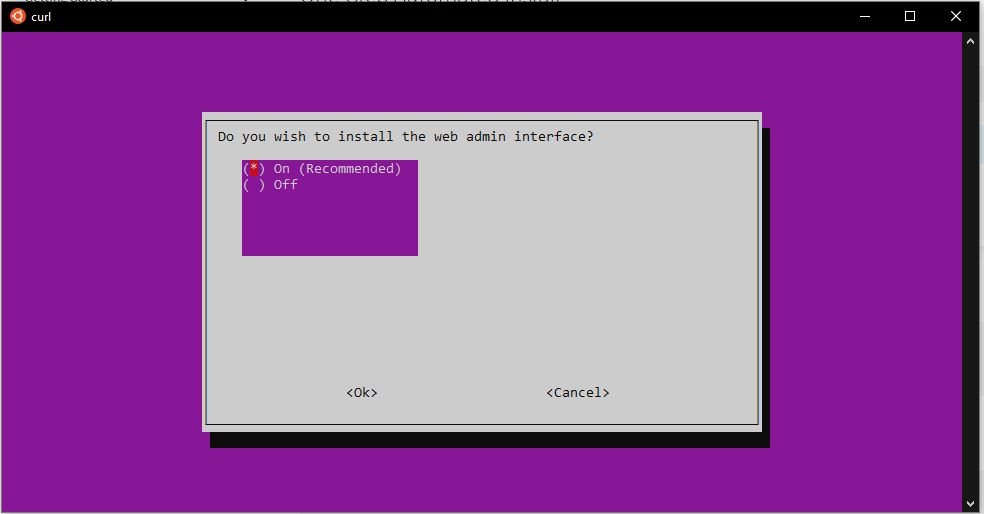
Next step is to decide whether you want the admin interface. Generally recommended!
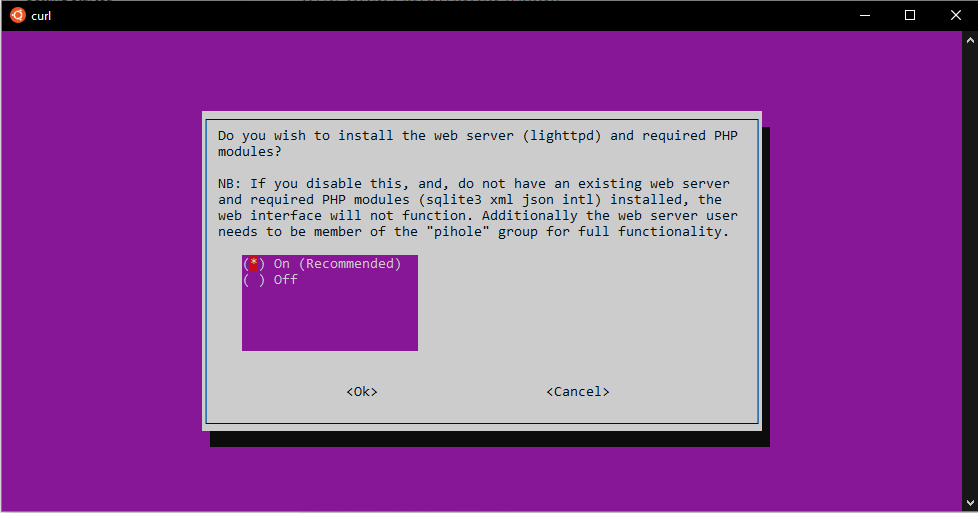
Definitely install the web server, unless you know what you're doing...
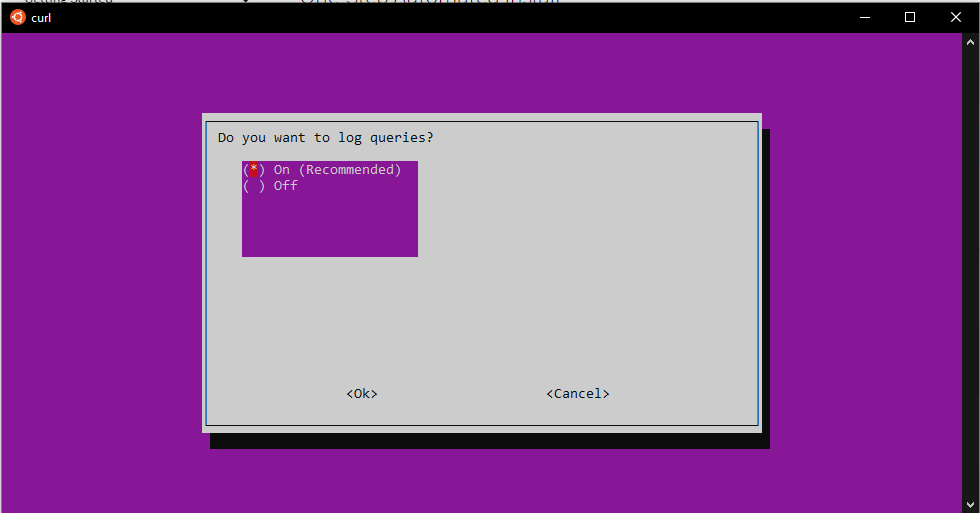
You can choose whether you want to log queries or not here. Again, probably recommended
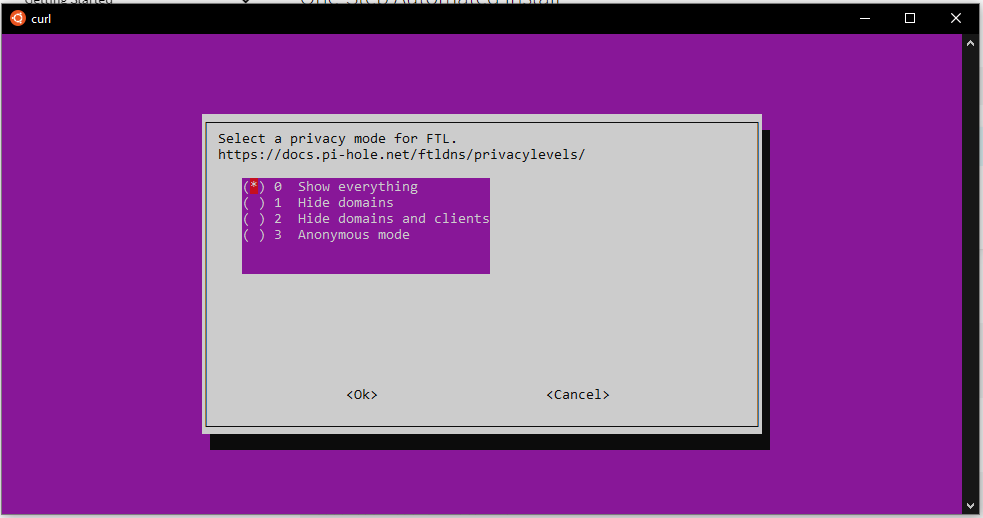
And here is where we decide on the level of network logging we want to save.
After that, PiHole will continue to install and configure itself.
You should then see Installation complete!
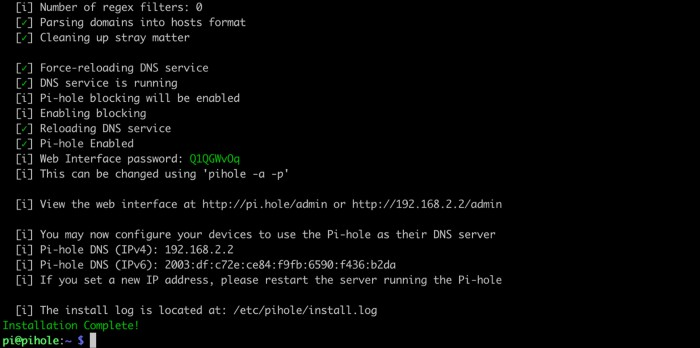
You'll notice that there's a password there.
You can now access the web interface at the URLs shown in the output.
Step 3: Using PiHole
You have two options here. You can either manually configure your machine, phones, laptops etc. To connect to the PiHole by changing your DNS server on your device to the PiHole IP address. This is good if you want to easily control the devices that use the PiHole.
Or you could use the DHCP method in which the PiHole acts as your DHCP server in place of your router. All that needs to be done is to disable DHCP on your router (if you can, I own the Netgear Nighthawk which allows me to do this).
Then you just need to enable DHCP on your PiHole via the settings menu.
That's all there is to it
The guys at PiHole have made it really simple to set up, and it's honestly a pleasure to use. I've had a PiHole running for around 2-3 years now. It receives regular updates, never failed me, and easily reproducible if ever I wanted to move between machines.
Hopefully, everything should be up and running successfully. Let me know if you receive any issues in the comments, I'll be happy to help you out.